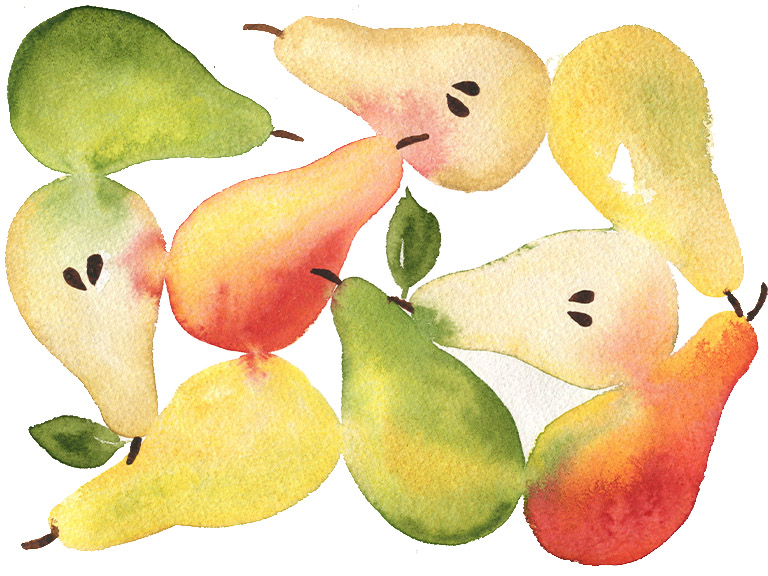
Crisp, crunchy pears are super fun to paint! I love to paint them all laid out across the page.
This quick watercolour tutorial is perfect for beginners – grab your supplies and let’s get going!

What you will need
- Watercolour paper
- Watercolour paints
- Brushes
- Water jars
- Paper towels
Colours
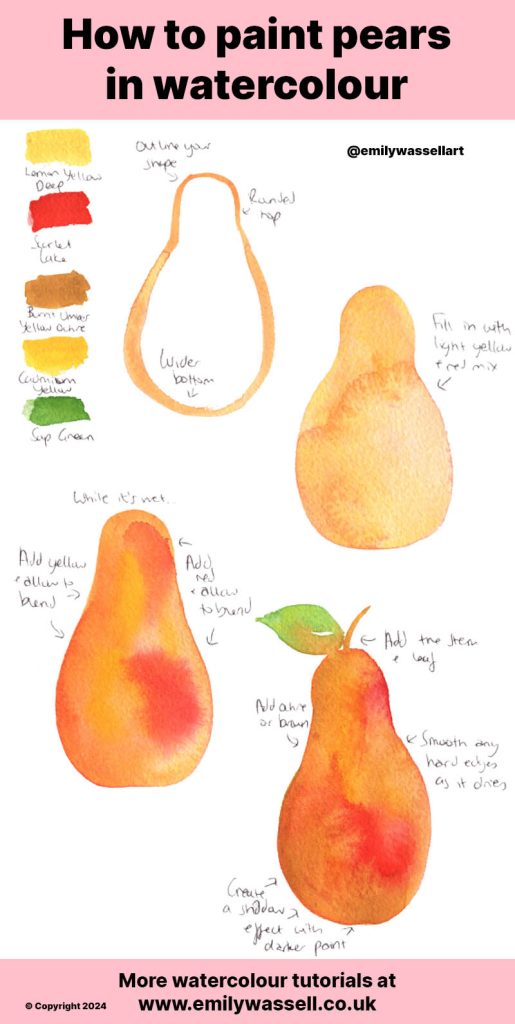
- Lemon Yellow Deep
- Scarlet Lake
- Yellow Ochre
- Cadmium Yellow
- Sap Green
All the paints I use are from Winsor and Newton, but you don’t need these exact colours.
Painting watercolour pears – step by step
- Using your orange or brown colours, outline your shape. It should have a rounded top and a wider bottom.
- Fill in with a light yellow and red mix, in a watery wash.
- While still wet, start adding patches of other colours. I’ve added drops of yellow throughout, and a deeper red colour in the gaps.
- Then add a brown colour along the left side and base to create a shadow area.
- Don’t blend! Let the colours bleed and move naturally for the best effect. Smooth any hard edges as it dries.
- Finish painting your pears by adding a curved stem and light green leaf at the top.
This watercolour technique is a really easy one to paint all kinds of fruits, including apples!
More watercolour fruit tutorials
Download my free watercolour supply guide
Feeling overwhelmed and confused by watercolour paints, papers and brushes? Download my free guide filled with insider info, including a list of good supplies for every budget, and my complete supply list!
