Tulip flowers are so striking and architectural! The bold silhouettes and cup-shaped flowers always catch the eye in the garden or the Tulip fields of Europe.
But tulip flowers are difficult to paint for beginners, because the shape is so… simple. It ends up turning into a blob! Here’s my easy watercolour tutorial for creating individual shapes in the tulip for a stunning loose floral.

What you will need
- Watercolour paints
- Watercolour paper
- A paintbrush
- Water jars
- Paper towel
Paint colours
- Sap Green
- Dioxazine Purple
- Winsor Red Deep
All the watercolour paint I use is from the Winsor & Newton Professional range. Don’t worry if you don’t have these exact colours – just find the closest match in your colour palette.
Paint tulip flowers – step by step
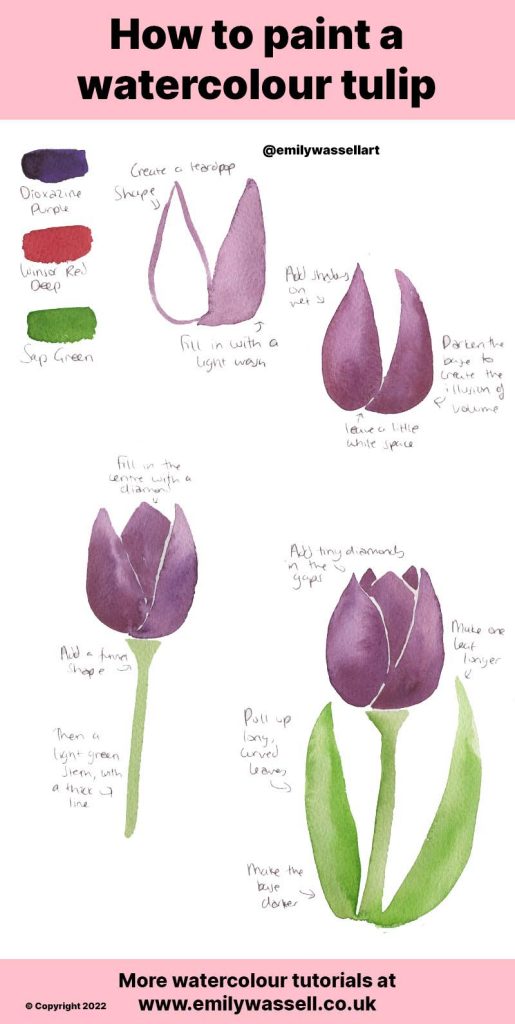
- Load up your brush with a light mix of purple, or whatever colours you’re using. Outline a tear-drop shape with a wide base and pointed tip.
- Fill in the shape with a wash of wet paint. Add a second tear drop shape next to it using the same method, keeping a thin line of white space between the shapes at the bottom. Make the right-hand side one wider at the bottom to create a cup shape for your tulip flower.
- While the paint is still wet, use a darker colour to create shadows. Load up your brush and trace it around the bottom edges of your shapes, allowing the darker colour to bleed out naturally. This step helps create volume in your tulip flower and make it seem three-dimensional.
- Create a diamond shape in the centre of your tulip flower, between the other two shapes. Leave a fine line of white space to stop it touching the other petals. This will give the illusion of a petal that is partly hidden by the other front petals. While it’s still wet, add some darker colour at the bottom for a shadow.
- Add two tiny diamonds in the gaps to fill out your flower. These can be darker to indicate that they’re at the back of the flower, just peeking over the front petals.
- Mix up a light green – you want yourtulip stems and leaves to frame your flower but not compete with it. Create a funnel shape under your flower, then a long thick stem underneath.
- Pull up long green leaves with long brushstrokes, curving the tips inwards to frame the flower. Make one leaf longer than the other to avoid too much symmetry.
- Add the final details with a darker green, touching your brush against the edges of leaves and around the base for a shadow.
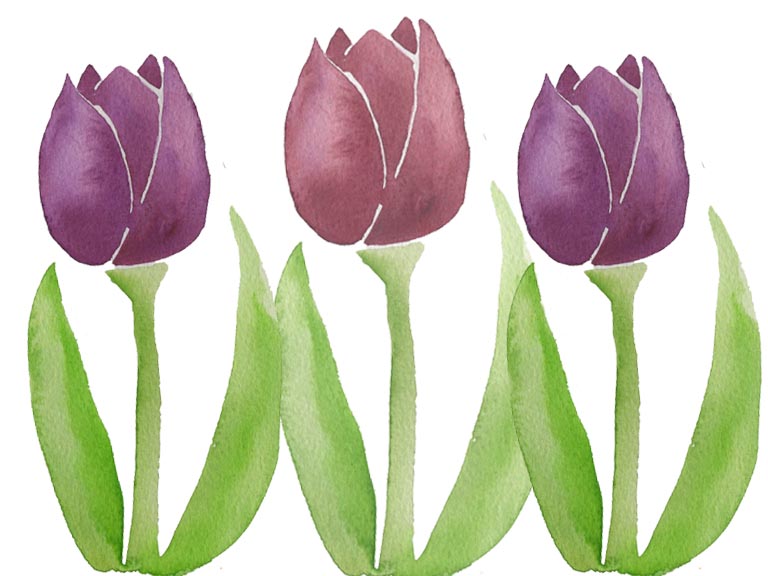
You can paint watercolour tulips in various shades – choose pale spring pastels or vibrant pops of colour.
More spring flower tutorials
More tutorials
Download my free watercolour supply guide
Feeling overwhelmed and confused by watercolour paints, papers and brushes? Download my free guide filled with insider info, including a list of good supplies for every budget, and my complete supply list!
