Peaches are one of my favourite fruits in the summer – juicy, colourful and delicious! They’re also extremely easy for beginners to paint in watercolour. You can use wet on wet details to create the fleshy insides and lay it out into a fresh composition. Grab your supplies and let’s get painting!
Watercolour supplies you need
- Watercolour paper
- Watercolour paints
- Brushes (medium and small for details)
- Water jars
- Paper towels or cloth
Colours
Choose any colours you like!
- Lemon Yellow Deep
- Cadmium Orange
- Winsor Red Deep
- Burnt Umber

Painting peaches step by step
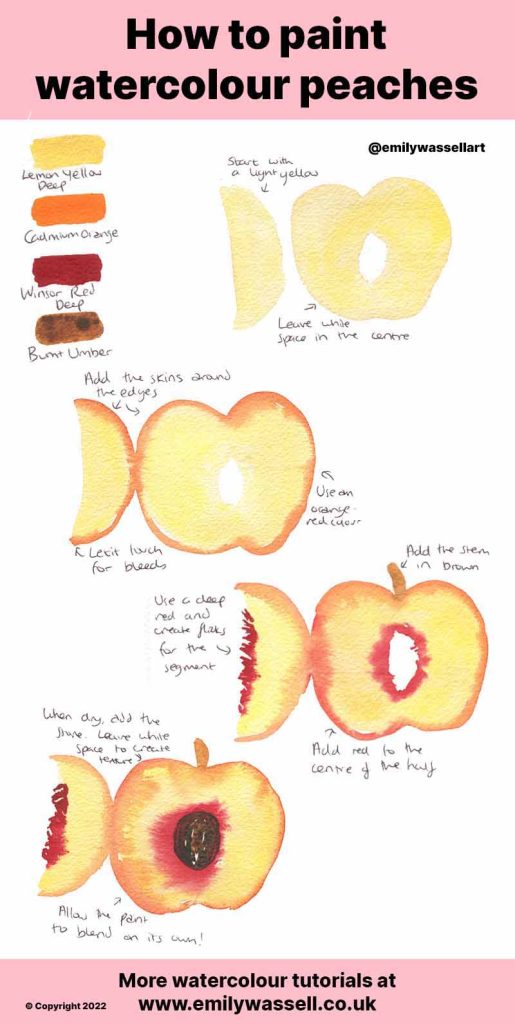
- Load up your watercolour brush with a watery light yellow mixture. Paint the inside of the peaches first – a long semi-circle for the slice, and a heart-shape with a round bottom and a hole in the middle for the half fruit.
- Using an orange red mixture on a fine brush, run around the outside of the peach to create the skin. Allow to bleed out naturally – try to avoid forcing it as the effects are much better when it’s natural.
- Add a brown stem and connect to the top of the peach half.
- Mix up a deeper red colour and outline the centre of the peach half. Then create little flicks along the segment, to build up texture. Again, let this blend out naturally.
- When it’s dry, grab a brown colour on a fine brush and create the stone in the middle. Drag the brush back and forth to create lines, leaving a little white space in places. Aim for a rough oval shape, and darken some of the lines.
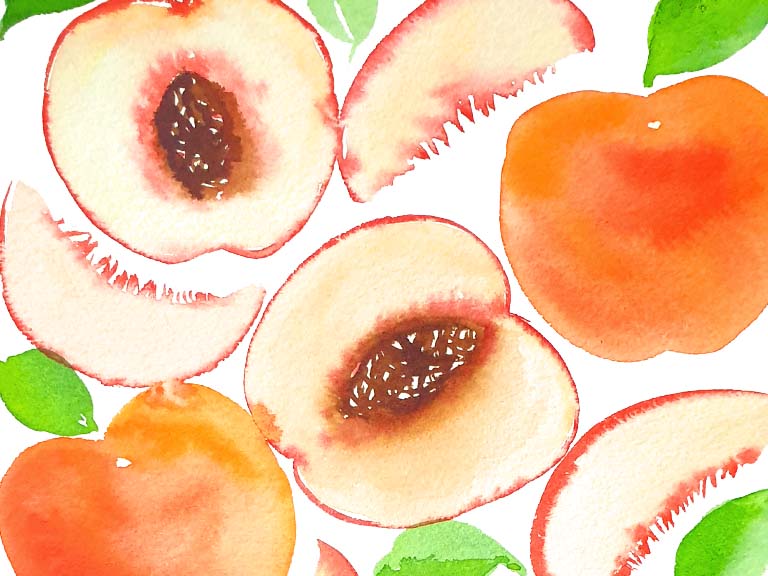
And you’re finished! This is such an easy way to paint a peach in watercolour – you can use this technique to build out a whole-page composition.
More fruit in watercolour tutorials
Download my free watercolour supply guide
Feeling overwhelmed and confused by watercolour paints, papers and brushes? Download my free guide filled with insider info, including a list of good supplies for every budget, and my complete supply list!
