Strawberries are wonderful fruits for beginners to paint in watercolour. In this tutorial we’ll learn how to paint them whole and halves, and use a little gouache to add the seeds.
Watercolour supplies you’ll need
- Watercolour paper
- Watercolour paints
- Brushes (medium and small for details)
- Gouache or yellow acrylic
- Water jars
- Paper towels or cloth
Paint colours
- Scarlet Lake
- Winsor Red Deep
- Sap Green
- Yellow gouache (or acrylic, any thicker paint that will layer over the red colour)

How to paint watercolour strawberries step by step
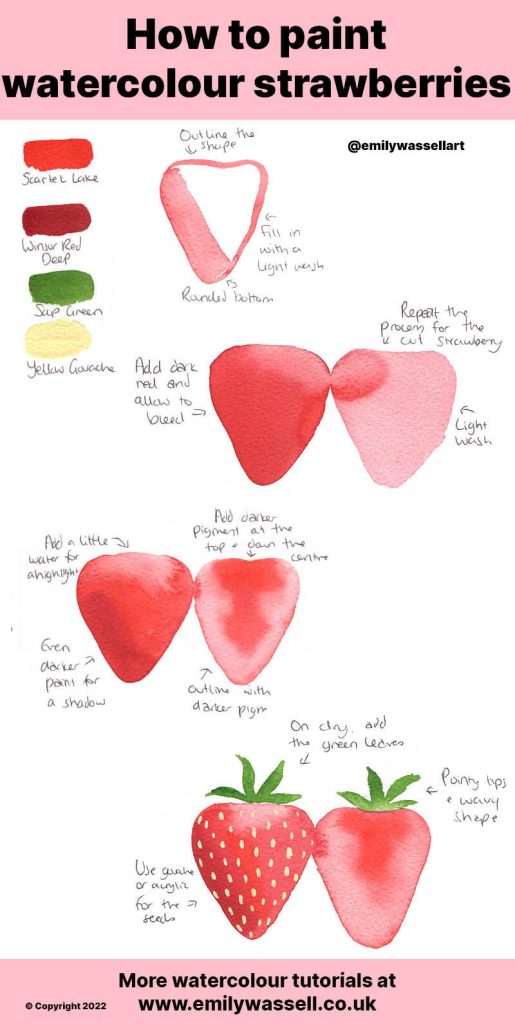
- First, mix up a light red paint and outline your shape. You’re aiming for a loose upside-down triangle with a rounded bottom. Fill in with a light wash.
- While the paint is still wet, add the darker red colour around the bottom and sides of the fruit, allowing it to blend out naturally. Keep the top of the fruit light, or add a drop of clear water to it.
- Add even darker paint across the bottom left side for a shadow.
- For the cut fruit half, create the same shape in the lighter red wash. Outline with a darker pigment to create a skin around the edges, then add darker pigment at the top and down the centre.
- When the strawberries are dry, use a green mix and pull up some wavy curves at the top to create the leaves. Make sure they’re pointed!
- Use your gouache or other paint type for the seeds over the top of the whole strawberry. Make sure these are placed randomly so they don’t create stripes across or down the fruit.
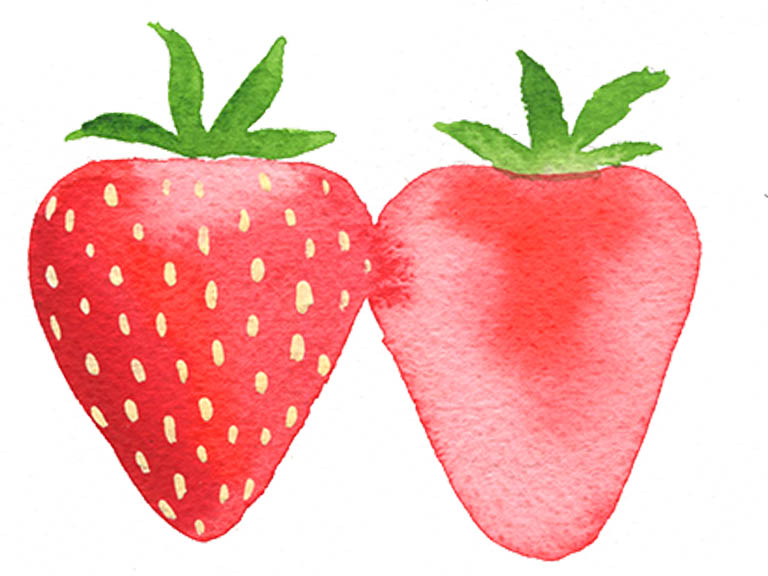
And your strawberry painting is done! Build this out into a pattern across a whole page, or mix with other fruits below for a bowl of fruit still life.
More fruit watercolour tutorials
Download my free watercolour supply guide
Feeling overwhelmed and confused by watercolour paints, papers and brushes? Download my free guide filled with insider info, including a list of good supplies for every budget, and my complete supply list!
