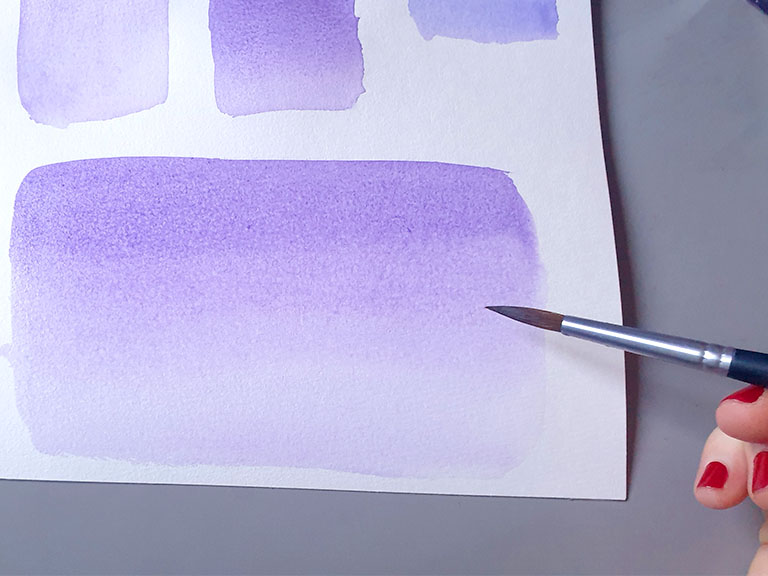
Watercolour washes are a simple technique in watercolour painting that provide a smooth, even layer of colour over a large area. This painting technique creates large areas of the painting surface that are covered with colour, usually in a single layer. When done correctly, a wash should look smooth, even, and free from hard lines or streaks.
A wash can be used to create a variety of effects, from creating a flat, solid background to a soft, gradient transition. But how can you create a truly smooth washes in watercolour? In this guide we’ll look at tips for creating stunning backgrounds and glowing skies for your paintings.
What is a watercolour wash?
A watercolour wash is simply a thin layer of watercolour paint applied to the paper in a smooth and even manner. It creates a smooth, flat area of paint. The term ‘watercolour wash’ refers to the method of application, which involves using a large brush to spread the paint over the surface of the paper, allowing it to flow and mix in a controlled manner.
There are two main types of washes in watercolour painting: flat washes and graduated washes.
Flat wash
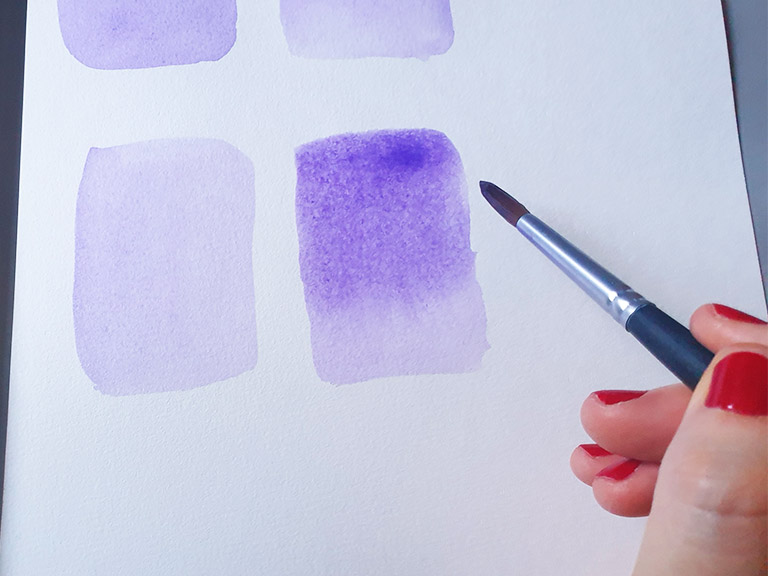
A flat watercolour wash is a single, uniform layer of colour that covers a large area of the paper. It’s achieved by mixing the watercolour paint with water to create a thin, transparent mixture that is then applied evenly to the surface of the paper. Flat washes are often used as a background colour or to create solid areas of colour in a painting.
Graduated wash
A graduated wash, on the other hand, is a wash that gradually transitions in a gradient. It can run from one colour to another, or from dark to light. Graduated washes are achieved by blending in a gradual, sweeping motion. The colours should create a seamless transition as they spread across the surface of the paper, creating a smooth gradient effect.
How to create a watercolour wash – step by step
Supplies you’ll need
- Watercolour paper – cotton is the best quality and will dry evenly
- Watercolour brush – preferably large so it can hold lots of water for smooth blending
- Watercolour paint – choose your favourite colour
- Clean water in jars – you’ll need lots of water for washes
Mixing the paint
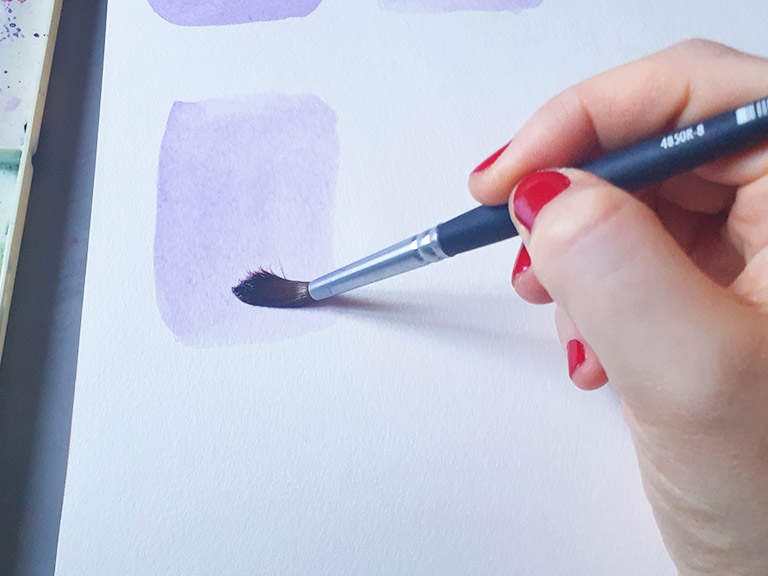
For washes, watercolour paint should be mixed with plenty of water to create a thin, transparent mixture that can be easily spread over the surface of the paper.
Too much water in the mixture will cause the paint to spread too quickly and can result in a patchy, uneven wash. Too little water, on the other hand, will result in a heavy, opaque wash that will not flow smoothly. To ensure a smooth wash, start with a mixture of paint and water that is just thin enough to flow easily, and adjust the mixture as needed.
How to apply a smooth watercolour wash
To apply the wash, use a large brush and load up with the paint mixture, and then start applying it to the paper in a smooth, sweeping motion side to side. For a flat wash, apply the paint evenly over the surface of the paper, allowing it to spread and flow.
Move your brush back and forth over the area a few times to ensure the paint is evenly applied. You want to avoid puddles or dry patches and create a smooth sheen on the surface.
How to create a graduated wash
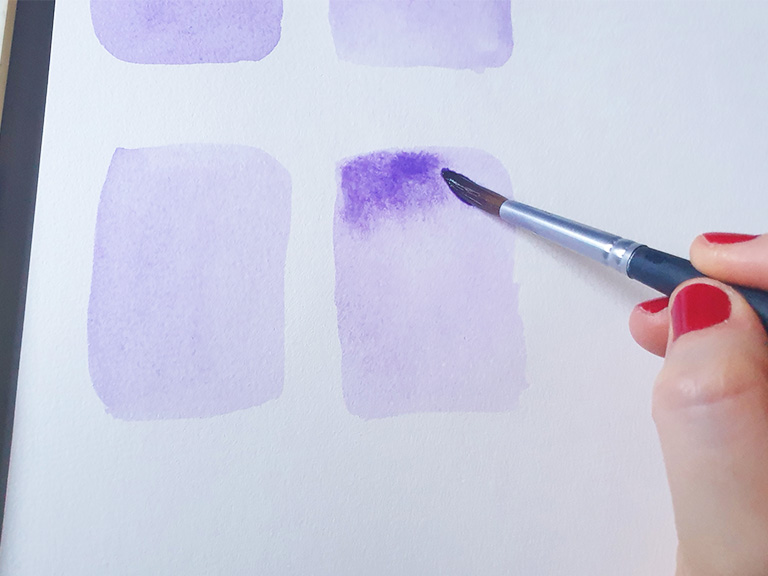
This uses the same wash technique, but you can add more water as you move down the area to create a faded effect. Keeping a smooth side-to-side motion, moving the brush up and down in your wash area to create seamless transitions.
For a gradient effect using two or more colours, try painting both colours as washes at each end of your paper, then rinse your brush and load up with just water, and use that to connect the areas and blend them together.
Read my guide to creating smooth gradients for more tips.
Top tips for smooth watercolour washes
Start with the right paper: Choose a high-quality, heavy weight watercolour paper that will not buckle or warp when wet. This will help you achieve even washes without any unwanted texture.
Wet the paper before painting: Before applying the paint, wet the entire area you want to paint with a clean, damp brush. This will prevent the paper from soaking up too much paint and help the wash spread evenly.
Use a large brush and load up with paint: A larger brush will hold more water, allowing you to keep painting without going back to the palette to refill.
Apply the wash in one direction: Start at one end of the area you want to wash and apply the paint in a single direction, following the natural flow of the water. This will help the wash spread evenly and avoid streaks.
Work in sections: If you are working on a large area, break it down into smaller sections and work on one section at a time. This will help you maintain control over the wash and prevent any unwanted buildup of paint.
Be patient: Watercolour washes take time to dry, so be patient and don’t try to add additional layers of paint before the previous layer is fully dry. This can cause streaks or unevenness in the wash.
Use a dry brush to tidy mistakes: If you notice any hard lines or streaks in your wash, you can use a dry brush to lightly drag over the area and blend it to tidy up painting mistakes.
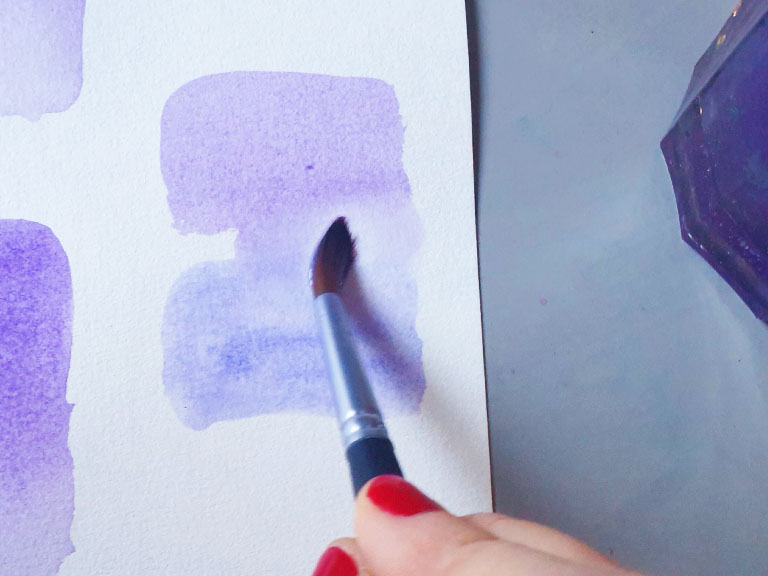
Help! My wash is patchy when it dries!
These are hard edges, created by uneven drying. They are usually caused by puddles of water which take longer to dry than the areas around them, created an edge of pigment around the puddle.
To prevent hard edges, keep an eye on the water content and keep blending until the paint coverage is thin and even. Read my guide to fixing hard edges in watercolour for more tips to rescue your painting.
Troubleshooting – other problems with watercolour washes
Here is how to fix all the common issues with washes:
If your wash has streaky paints and lines in your painting, or an uneven finish, you need more water. Adding more water to your paint mix will ensure the paint can blend smoothly.
If you use too much water, it risks creating puddles and patches as it dries, as well as diluting and fading the colours.
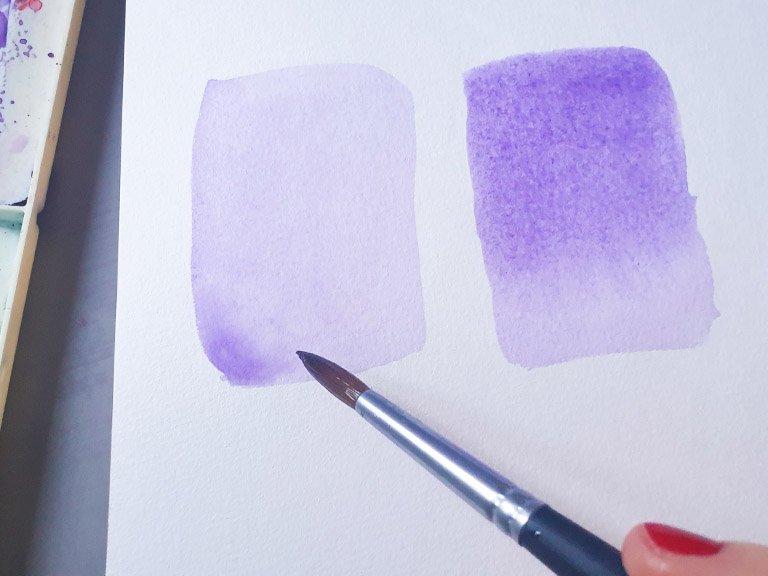
Overworking the paint can cause it to become muddy or too dark, making it difficult to achieve the desired colour intensity. If you want to make the paint more intense, let the first layer dry completely and add a second layer over the top.
If part of your wash dries before you’re finished painting, it can prevent the paint from blending. Keep going back over previous areas with a damp brush to ensure they stay wet.
You may also want to use higher quality, cotton paper. It dries less quickly than cheaper paper, giving you time to get the wash smooth before it dries. I also recommend avoiding hot press paper, as it tends to dry faster and create patches.
Creating watercolour washes takes time and practice, but with the right techniques you can achieve stunning results. Remember to be patient and experiment with different tools and techniques to find what works best for you. Happy painting!
More watercolour techniques
- How to create wet-on-wet paintings
- How to use wet-on-dry technique
- How to use masking fluid in watercolour
Download my free watercolour supply guide
Feeling overwhelmed and confused by watercolour paints, papers and brushes? Download my free guide filled with insider info, including a list of good supplies for every budget, and my complete supply list!
