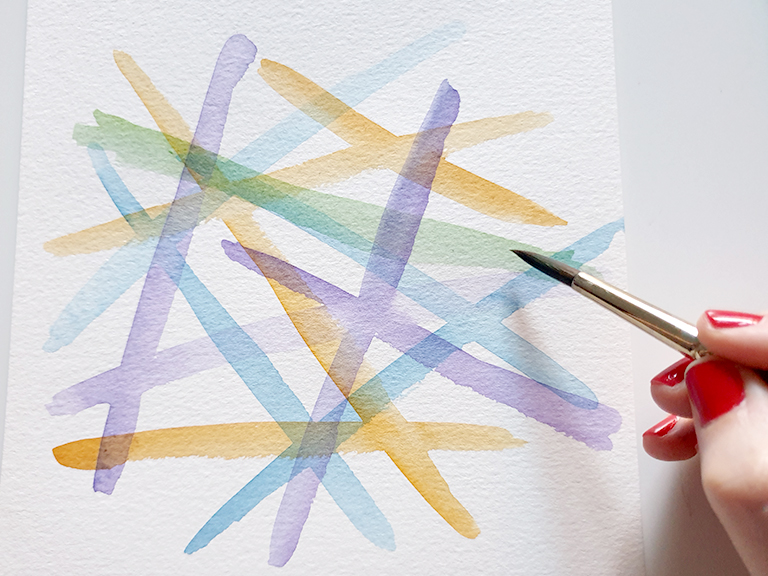
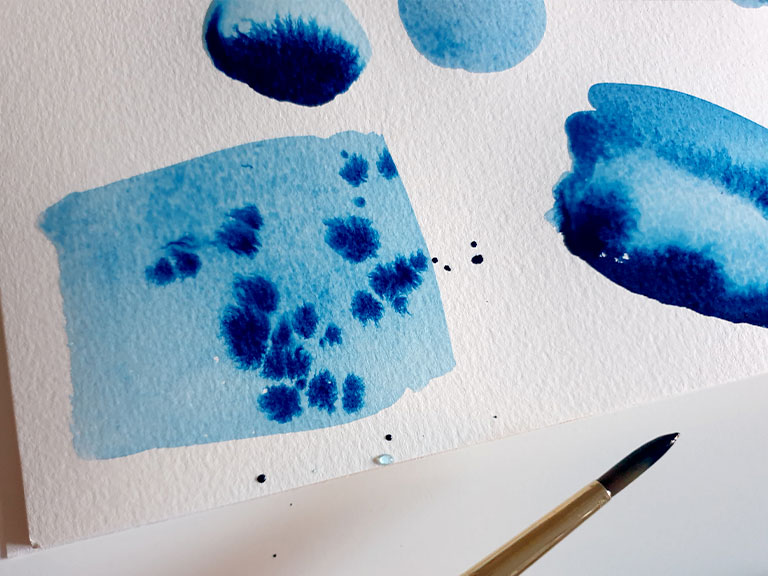
One of the essential watercolour techniques to learn is creating gradients. Seamlessly blending colours creates stunning skies, sunsets and landscapes, and it’s easier than you might think!
Gradients use blending and colour mixing to create a transition from one colour to another. Monochrome gradients use a single colour and get lighter or darker as they go. These tips will help you create smooth blends and gradients every time.
Principles of creating a gradient
To create effective gradients, you need to use plenty of water – probably more than you think you do! One of the biggest problems that watercolour beginners have with blending is not using enough water. It creates a result that’s streaky and doesn’t allow the colours to mix.
If you’re painting a watercolour sky, it helps to wet the paper first and apply the paint over the top. Keep adding water to the top parts as you move down the page, to prevent the top drying up first. If it dries, you risk having a patchy result and streaky lines where you drag the paintbrush over a part that’s almost dry. Keep it all wet by regularly going back over bits you’ve already done until it’s all blended and smooth.
Single-colour gradients
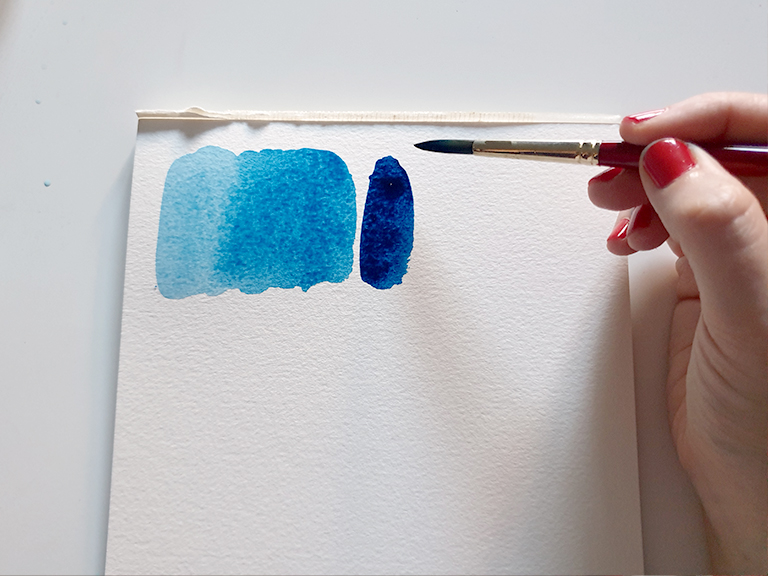
The simplest gradient techniques use just one colour and play with how light or dark it is (also called the value). To create single monochrome gradients, I find it easier to start with the darker tones and add more water to lighten it. Create a dark area first, and mix up a lighter colour in your palette. It’s easier to mix on your palette than trying to mix on the paper, but you can try both and see what works for you.
Add the lighter colour near to the dark one, and when you’re ready, use your brush to join the areas together. Move your brush up and down in lines across the join to smooth it out and create a seamless blend. If you’re getting join lines, extend the area you’re blending together and keep moving back and forth until the line disappears.
You can keep this going by creating subtle gradient transitions, from a dark to a medium, to a light medium, light and very light. You should be able to get five to eight values out of a colour by adding more and more water.
Two colour gradients
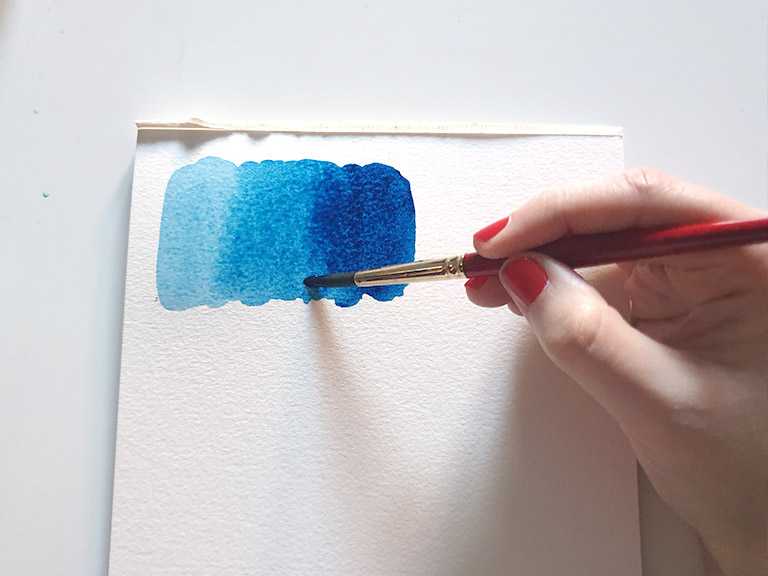
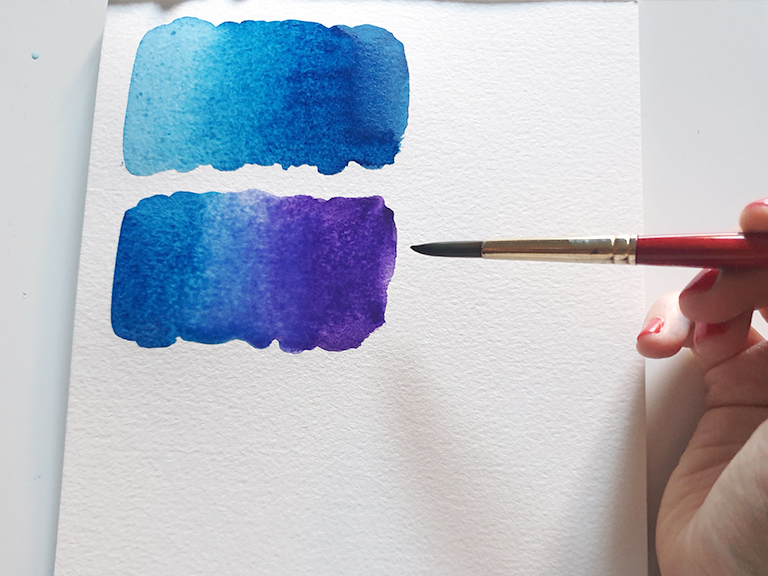
To create two colour gradients, you need the two original colours and a middle mix of them both. Let’s say you’re mixing blue and purple – you need to use pure blue, a blue-purple and the pure purple.
Using the same technique as the single gradient, create an area of the first pure colour first. Then on the opposite side, create an area of the other pure colour. Now add the mixed colour in the middle and blend out in both directions, create a seamless transition from one to the other.
Make sure you’re using plenty of water to help the watercolours blend, and don’t let your first pure colours dry out!
Three (or more) colour gradients
To create a gradient with three or more colours, it’s exactly the same technique. You’ll need to create the two-colour gradient as above, then repeat the process again for a third colour. Each time, make sure you have an area of pure colour with a mix, and then back to a pure colour.
You can use as many colours as you like in a gradient – go crazy and create a full rainbow if you want! The most important thing is to make sure you’re only blending together two colours at once. You need a progression of pure-mixture-pure-mixture-pure. If you don’t have the pure colours before the next mixture, you’ll get pure-mixture-mixture-mixture. You’ll end up mixing together too many colours and the results will be muddy, murky and brown.
The paper tilt technique
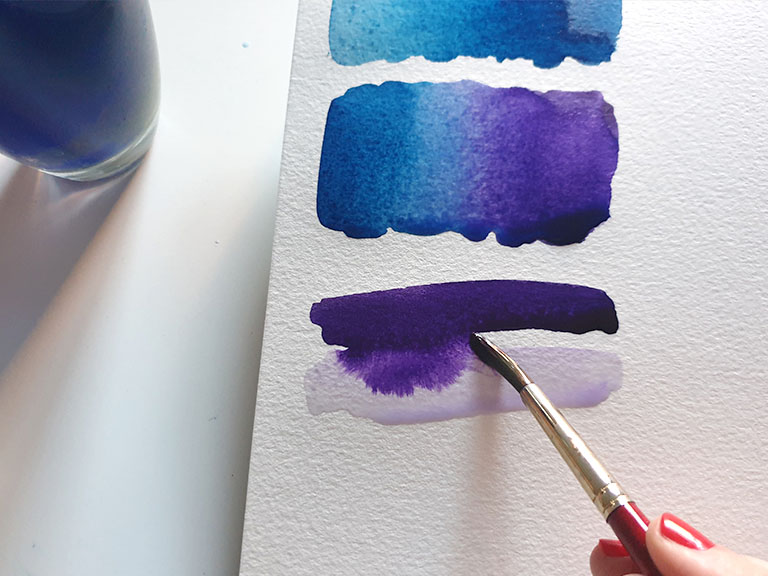
If you’re finding that your gradients have lines and joins instead of smooth blends, a good technique to try is tilting your paper as you paint. You need to be creating a gradient down the page, not across, for this to work.
Add your first colour to the top with plenty of water. Tilt the paper to stand up a little, creating a puddle of water at the bottom of the wet area. Load up your brush with the next mixture and paint underneath the first area, allowing your brush to touch the bottom of the puddle. The colour should spill down as you paint, allowing gravity to create the blend.
Continue this technique down the page and you should get a gradation that’s subtle and smooth. Once you’re done, you can run the brush back through any areas that you want to go over again – it’s that simple!
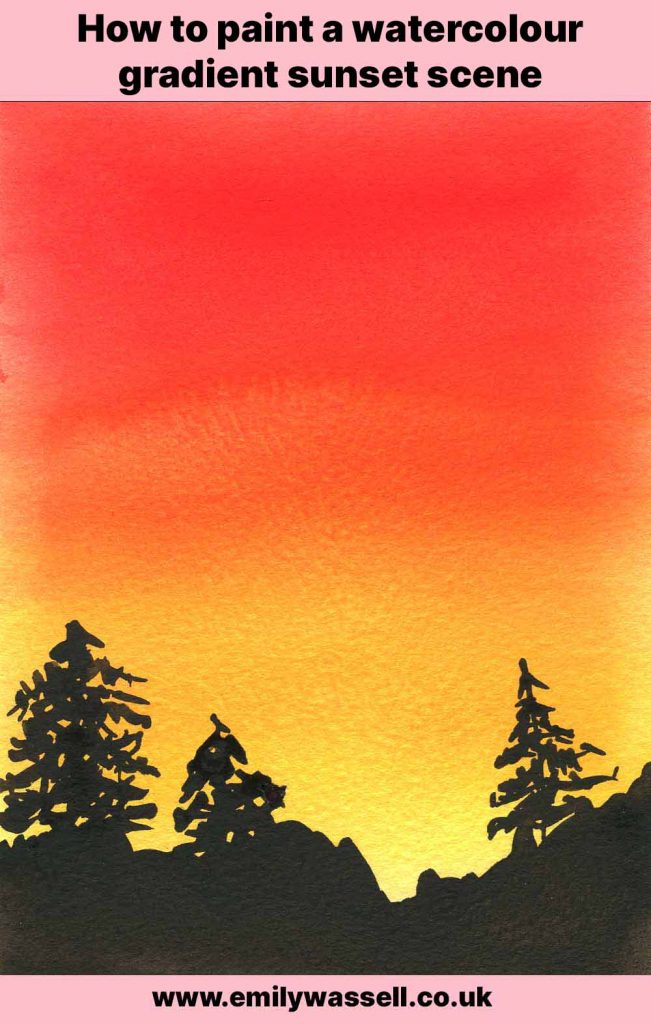
Paint a sunset gradient sky
Want to practice the gradient technique? This video tutorial will show you how to create a sunset sky gradient using red, orange and yellow, with the silhouette of mountains and pine trees over the top when it’s dry!
Want to learn more watercolour techniques? Read my guide to wet-on-wet and wet-on-dry techniques with projects to practice.
More essential watercolour techniques
All watercolour techniques list
See all the watercolour techniques you can use to create stunning paintings!
