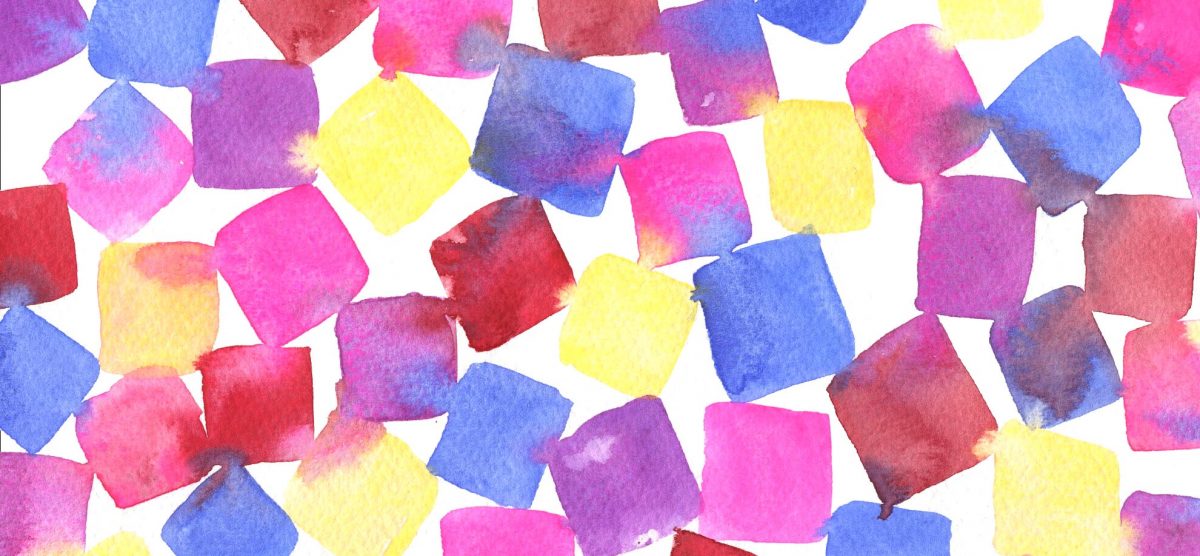
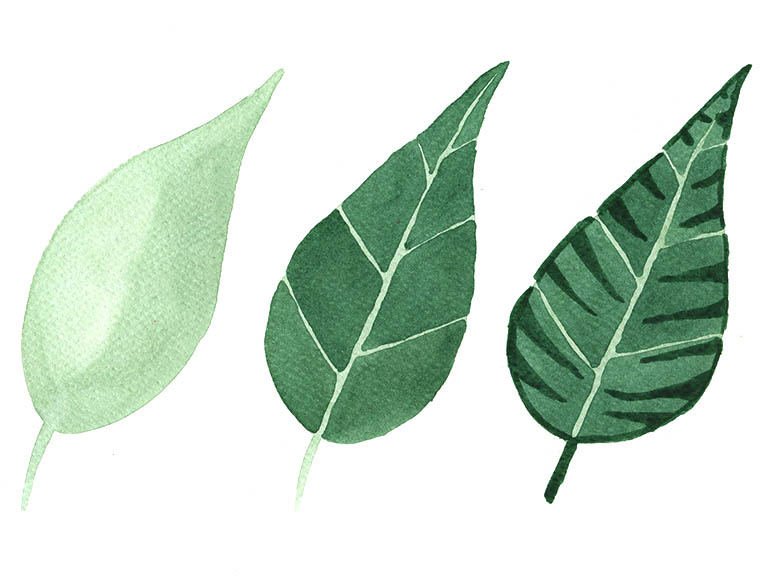
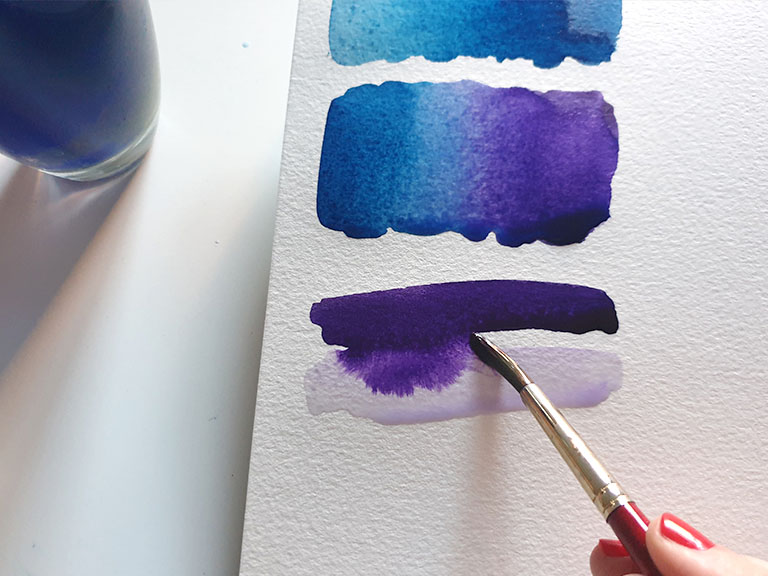
There are loads of watercolour techniques, but by far my favourite is wet on wet! It’s something that’s so unique to watercolour and really takes advantage of how creative and beautiful it can be. This is where the magic happens!
There are a few different ways to use wet on wet techniques for unusual and gorgeous effects, so I’ve broken them down into sections and given them names. Note that these aren’t official names but it helps me distinguish between the different types!
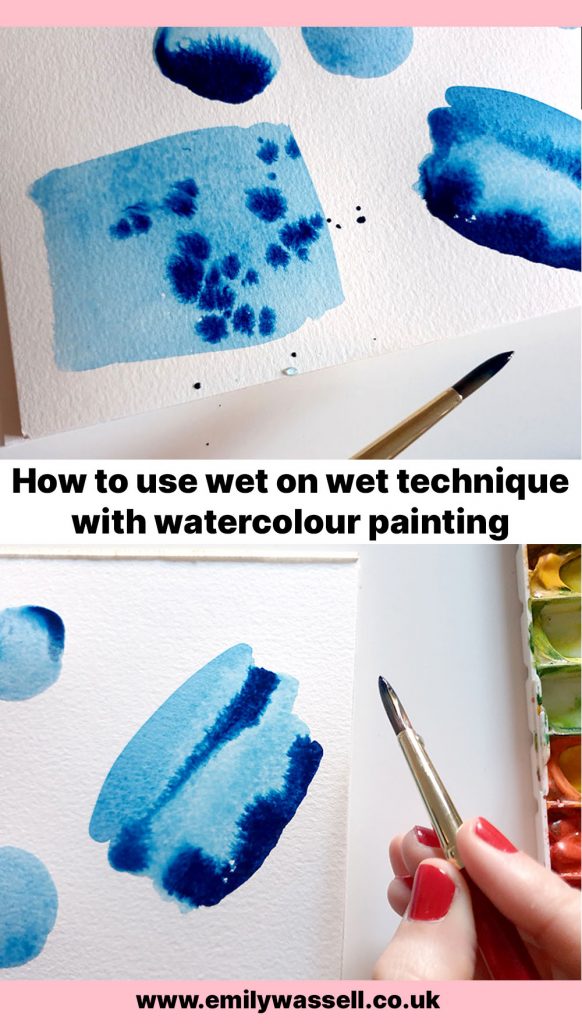
What is wet on wet watercolour?
This is a watercolour technique that uses wet paint against wet paint or wet paper. It’s used to create beautiful bleeds and blooms between areas of colour and allow the watercolour paint to spread and blend.
What supplies do I need?
You don’t need any special equipment for this technique – just grab your favourite watercolour supplies and some clean water, and you’re good to go!
However, you’ll want good quality watercolour paper for wet on wet work to prevent buckling. Thin or low-quality papers tend to warp under the water, creating puddles and patchy effects.
This is because when you add the water, it makes the paper fibres on the surface expand, creating a domed and warped appearance. This uneven surface tips the water into pools and puddles, creating an uneven drying time that leaves patches in your painting.
Buy good quality 300gsm (140lb) watercolour paper and tape down to a firm surface with masking tape to hold it in place. Note that all watercolour paper will buckle a little if you’re using a lot of water, but high-quality papers hold up better. Read my guide to watercolour paper to help you find the right one.
Touch watercolour technique
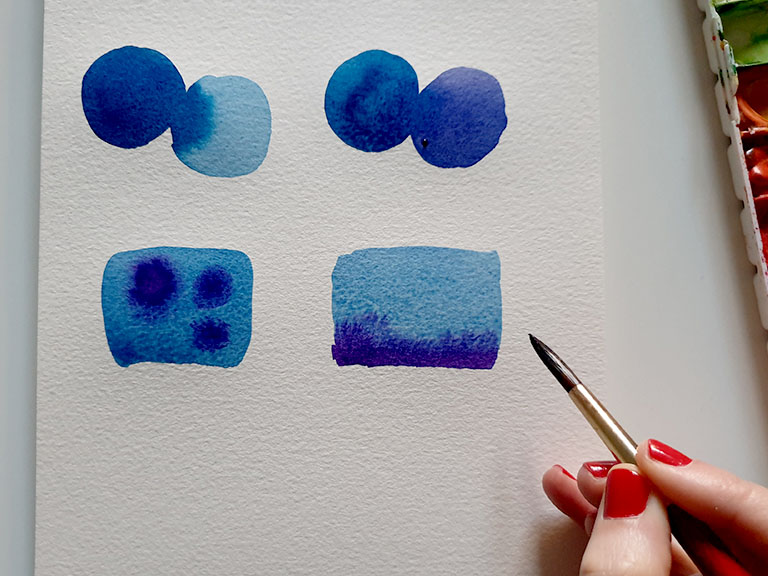
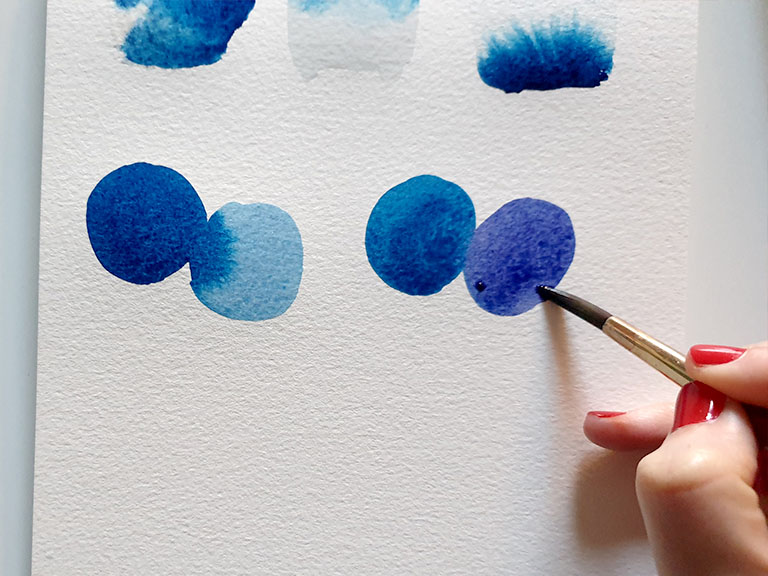
This wet on wet watercolour technique involves creating two areas of wet paint on your dry paper and allowing them to touch. This will allow the paint from one area to move or bleed into the other, creating beautiful effects.
You can change up the value (lightness or darkness) of the colour or add different colours and allow them to mix on the paper.
For the touch watercolour technique to work, you’ll need both areas to be wet – if your first area dries out before you add the second, there won’t be any bleeds. And you want the water content in both to be roughly the same, so you’re not touching one very wet area with one slightly wet one.
As a general rule, paint tends to move from dark areas to light areas, or from more concentrated to less concentrated. However, this depends on the pigment type you’re using – paints with larger pigment granules tend to bleed less willingly than those with fine pigments. Every paint brand is different so it will take some experimentation to get the hang of your particular paints.
Drop in watercolour technique
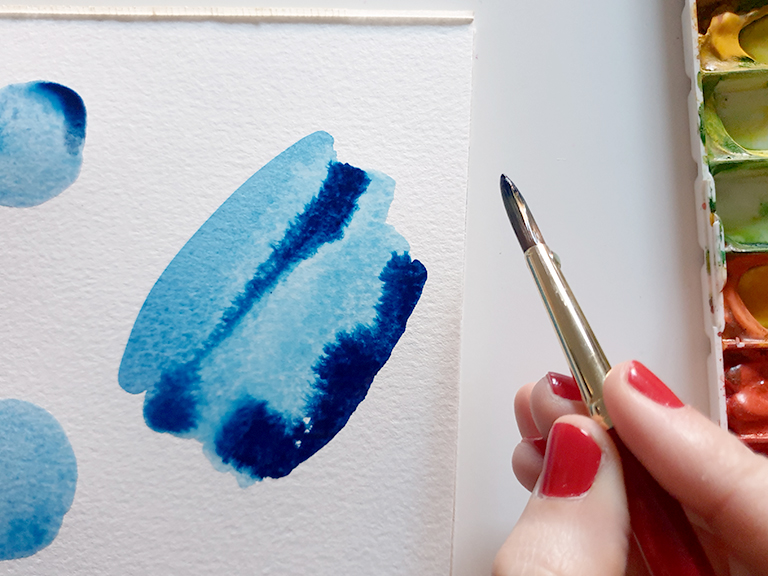
This wet-on-wet watercolour technique is slightly different – rather than touching two separate areas of paint, you’ll work in one area and add the colours one after the other.
First create one area of wet colour on your paper – you can paint any shape you like. Now get a darker or different colour mix on your brush and touch it to the wet paint, dropping in the colour on top. As the existing area is already wet, your new colour should spread easily.
You can do lots of different strokes with the touch watercolour technique. Use the tip of your watercolour brush to drop in dots or press down to make lines or swirls. Run your brush around the edge of the wet area and watch it spread. You can also drip or splatter the darker colour over the top – get splashing around and have fun!
This is a great wet-on-wet technique for adding depth and dimension to watercolour paintings. Remember that adding contrast is the quickest way to make paintings look better, so adding a deeper colour using the drop-in method will really transform your work.
Wet paper technique
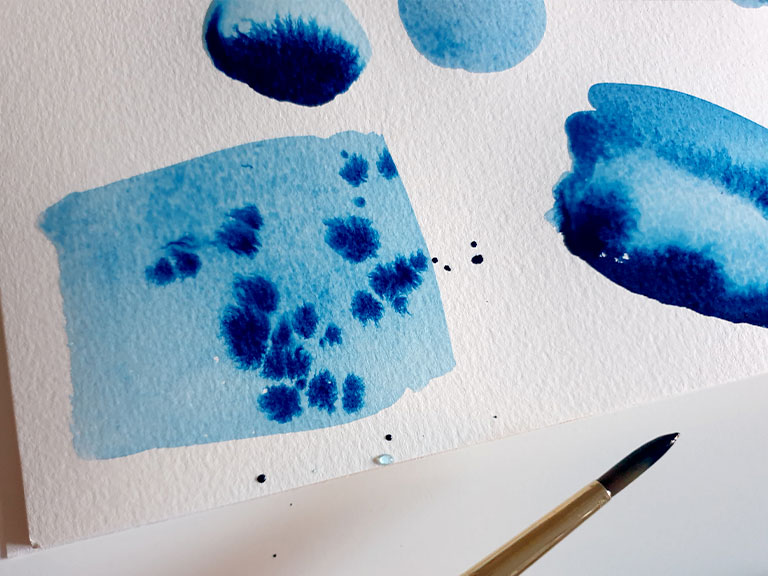
This wet-on-wet technique involves wetting the paper first. Using just water on your brush, create a shape or wash on the paper. You should be able to see if it if you tilt the paper towards the light. Now you can grab some paint on your brush and paint on top of the wet area. You can use the drop-in technique to create dots or lines, or paint any shape you like.
The wet paper watercolour technique will create soft, faded edges to your painting and is great for bringing light into a painting. Anywhere that the colour doesn’t spread will dry and leave the white paper showing, so it’s a great way to create luminous watercolour art.
You can play with this technique by changing how watery your paint mix is, when you paint on the wet area. If you use a dry, darker mixture of paint with only a little water on your brush, and paint on the wet area, the colour won’t spread that far and it will be concentrated and high in contrast.
However, if you use a watery mix of paint, it will spread much further and fade a lot more. Play around with this watercolour technique to see how well your colours spread and what effects you can make.
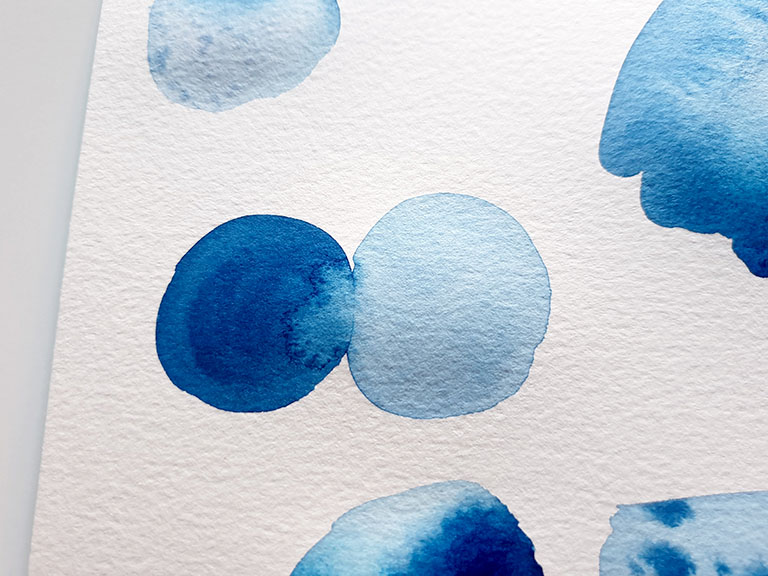
Flood or bloom technique
This final wet-on-wet technique is like touch but in reverse to create what are called watercolour blooms. Not all watercolour painters like these little blooms, which are sometimes called ‘cauliflowers’, but I think they’re really beautiful.
You use the same touch technique above, creating one area of colour first and then adding a second alongside it, allowing them to touch. The difference is that the second area of colour should have much more water in it. You want to force the water back into the other shape – it works best when the first area is starting to dry, but before it has dried completely.
When this happens, the water will move into the first area and lift the paint up off the paper in tiny little channels, which look like little branches (or florets of cauliflower!). It creates white inroads into the other shape, creating a stunning texture. I think they look like bolts of lightning.
If you use too much water in the second shape it might create a puddle, which could dry patchy. If that happens, dry your brush on a paper towel and lift up some of the excess.
Wet-on-wet watercolour painting idea
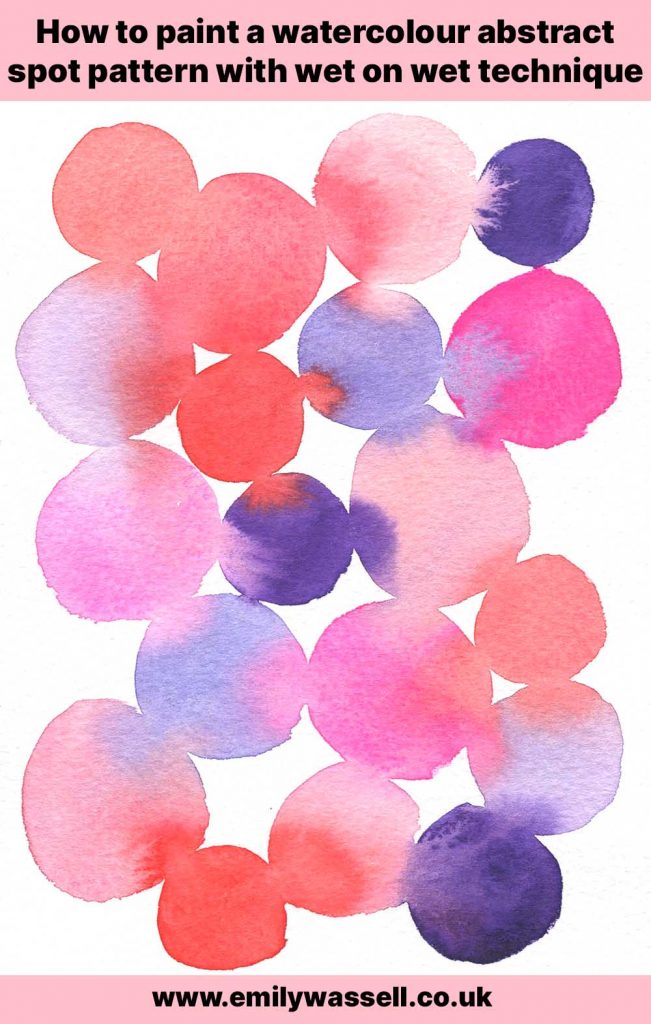
If you want to practice your wet-on-wet painting, try this project! Create an abstract circles pattern, allowing the shapes to touch and flood. You can even add your own dropped-in colour too if you like.
More essential watercolour techniques
All watercolour techniques list
See all the watercolour techniques you can use to create stunning paintings!
