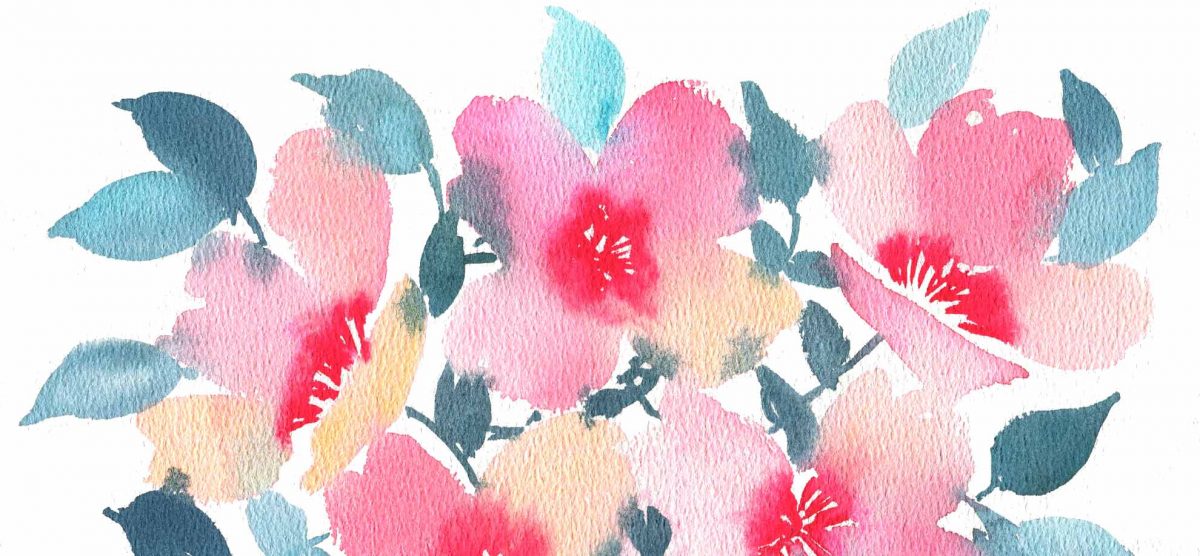
Painting watercolour florals is perfectly suited to a modern watercolour style. It allows you to paint loosely and freely with your brush and make the most of watercolour’s unique blending and bleeding properties. Florals were the first thing I wanted to learn to paint when I started out as a watercolour beginner, and they will always have a place in my heart.
But many beginners find florals, and especially a loose style, quite challenging as they focus too much on the details of the flowers. We get caught up in trying to render the three-dimensional flower and all its many petals, that it can turn into a big blobby mess!
My own painting style is very loose and expressive and work effectively, loose florals have to simplify the flower immensely, focusing only on the shape of the flowers and leaves rather than on minute details and layering.
If you want to learn how to paint watercolour florals in an easy way, here are all of my resources to help you!

Learn basic flower shapes
If you look in your garden or local florist, you’ll see that many flowers are based on simple repeated shapes. It could be 4 petals or 6 petals, with rounded or pointed leaves, maybe a five-pointed star shape. Some flowers have detailed centres or darker centres, and some come with simple pointed leaves. The point is, once you learn to paint the basic elements that make up the flower essentials then you can paint any type of flower.
Paint a single stem
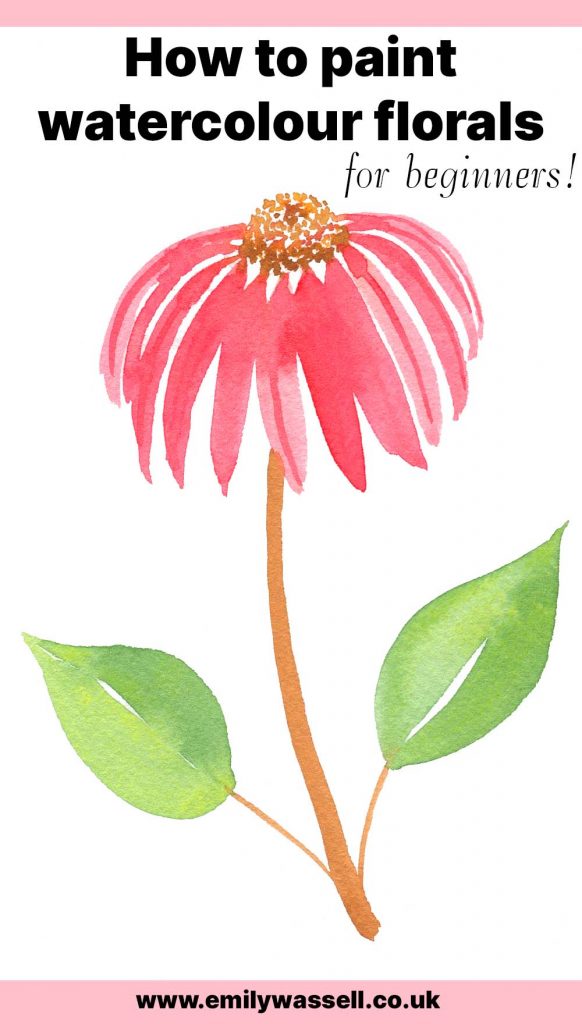
Single stem flowers are the easiest one to start with when you’re learning to paint watercolour florals. Using your paper in a portrait composition, you should place the flower head about two-thirds of the way up, rather than in the centre.
Then the stem and leaves can sit underneath and the leaves should point and curve upwards and inwards in a V shape to frame the flower. This works with any single statement flower from a rose to a carnation, a lily to a daffodil.
Make it three
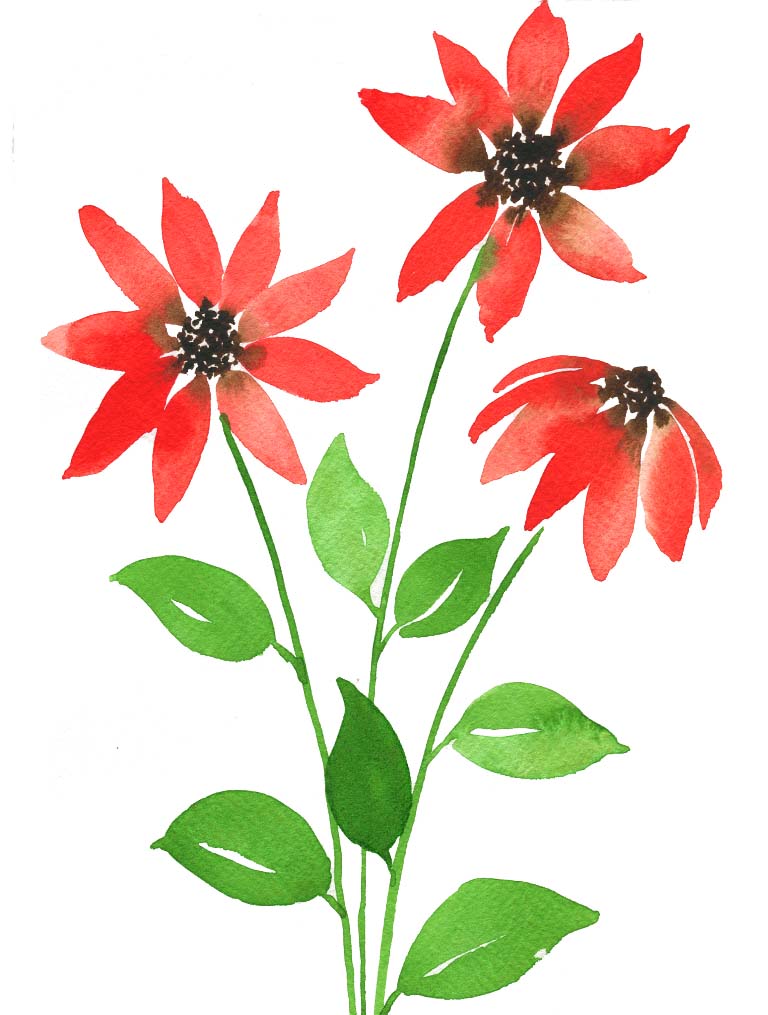
Taking the single stem idea further, you can also paint compositions in groups of three. This has the most natural balance and can be used for tall and slim stems like delphinium or hollyhocks.
It’s important that they aren’t all identical – try and make the flowers different heights and widths so that they create contrast and movement.
Floral tutorials
If you want to paint specific flowers such as roses or delphiniums, I have watercolour tutorials by flower type on my website. These simple guides will take you through the process step by step as we build the flower, teaching you how to lay out the various petals and build up an individual flower with supporting stems and leaves.
Make a simple bouquet
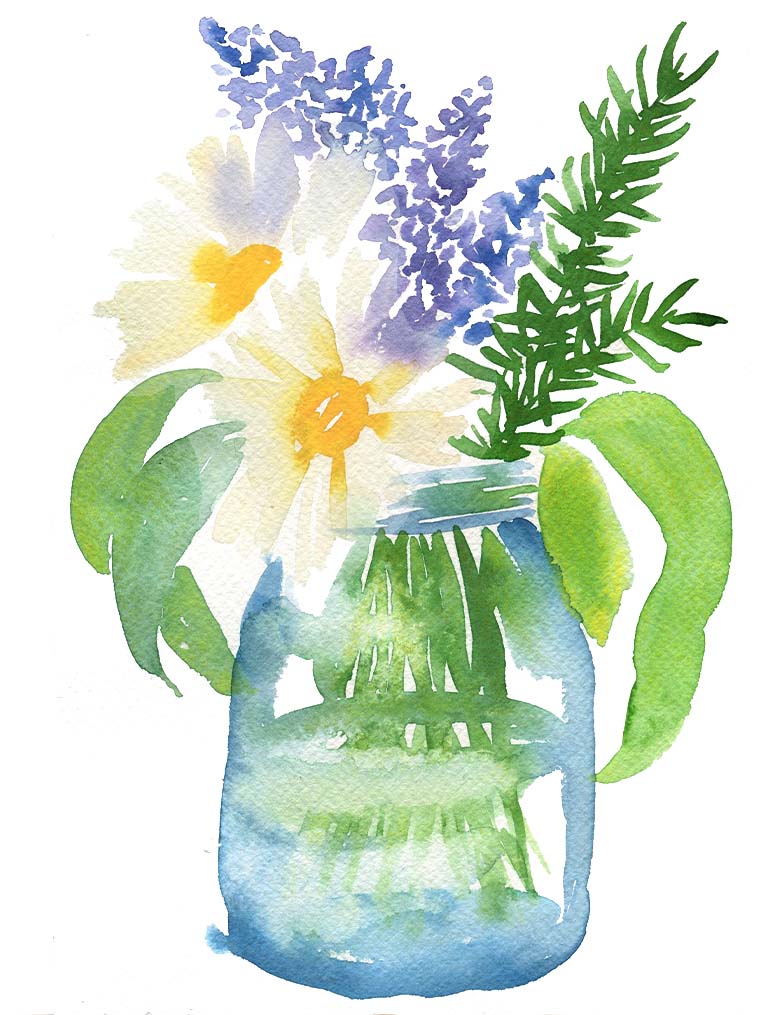
If you want to paint a bouquet of flowers, you need to focus on the different flower shapes and placement. I recommend using one focus flower and two supporting flowers, and then adding filler flowers and leaves to fill any gaps. You can paint the stems just joined together underneath the bouquet or put them into a vase. Make the piece as big and full as you like or create a simple posy – perfect for a greetings card.
Make a scatter pattern
If you want to fill a whole page with loose florals then a scatter pattern is a great way to start. Imagine that you have handfuls of loose flowers and leaves, and you throw them up in the air and allow them to fall onto the page. They’ll land randomly all over each other and then we’ll be painting that random scatter style.
For this style of painting watercolour florals, I recommend using only a few simple elements on repeat. Start with your largest but lightest element as the base and then layer over the top, making sure you’re always changing size colour and direction.
Read my guide to painting a floral scatter pattern in watercolour.
Floral wreath
Painting a floral wreath is a great project to do for beginners. Sketch a circle on your paper – you can draw around something round like a bowl, then start adding your flowers. I recommend using one or three focal flowers, and then smaller and filler flowers, leaves and details around that. I love floral wreaths where all the flowers and leaves go in one direction such as clockwise, it creates a beautiful flow. My top tip on painting wreaths is to use very pale leaves to fill any gaps.
Don’t forget the leaves
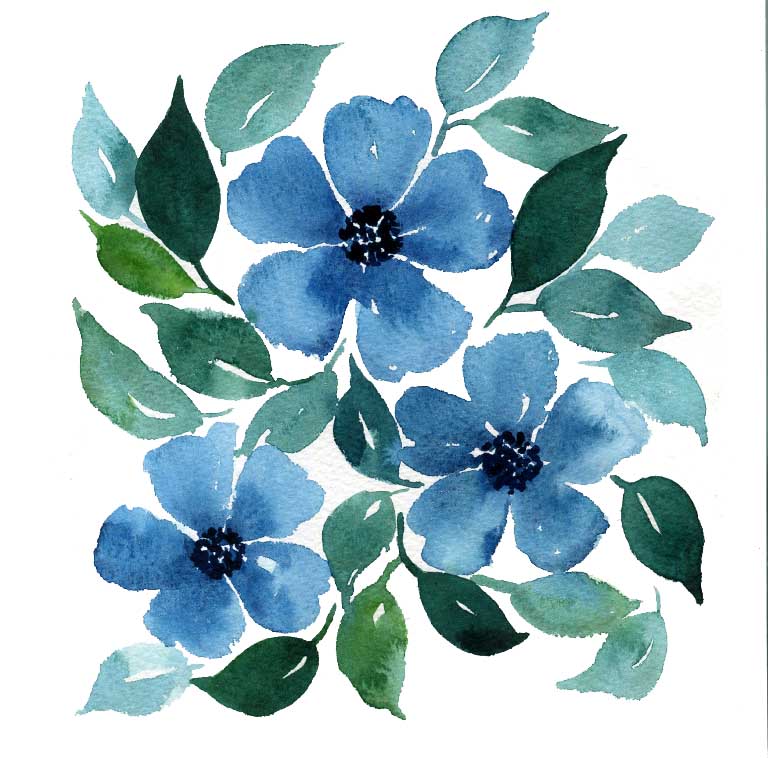
If you’re painting loose florals, it’s important to add the leaves. When we strip out the detail, the combination of colourful flowers and green leaves makes the painting really striking and obviously flowers, even when it’s only a few loose strokes. And leaves use the same strokes as the petals but in a green colour, so it should be easy to learn.
There are lots of different shapes of leaves, from rounded and pointy to jagged edges, and you can also use long strokes to get longer leaves like daffodils or tulips.
For more tips, take a look at my Skillshare class on painting leaves. It’s a masterclass of painting different leaf styles and then we put them together into various compositions, including a leaf scatter pattern and a leafy wreath.
Learn interesting flower centres
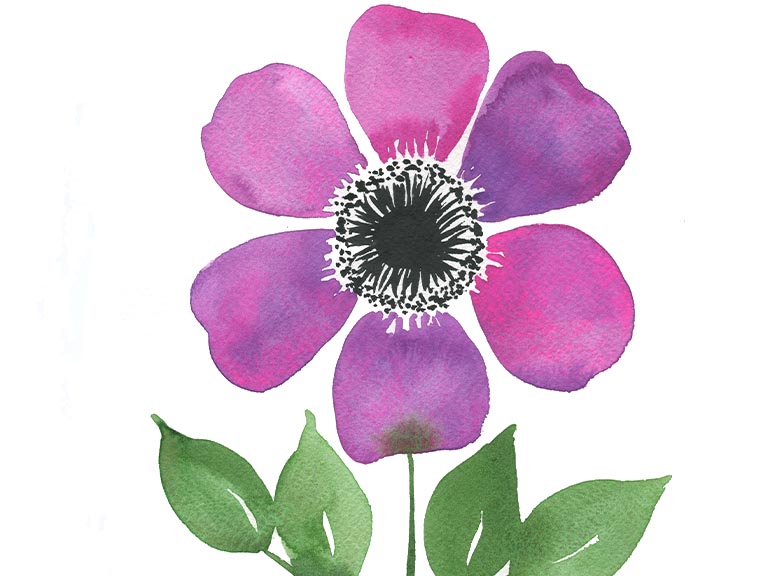
Painting flower centres can really create a focal point for the whole piece. My two favourite methods are either using a darker mixture of paint and dropping it in the centre while the petals are still wet allowing it to bleed out.
Or alternatively you can let the petals dry and then add an anemone-style centre. Paint a circle in the centre once the petals are dry, and then use a fine brush to create flicks out and finish with a ring of dots.
Use the wet on wet technique
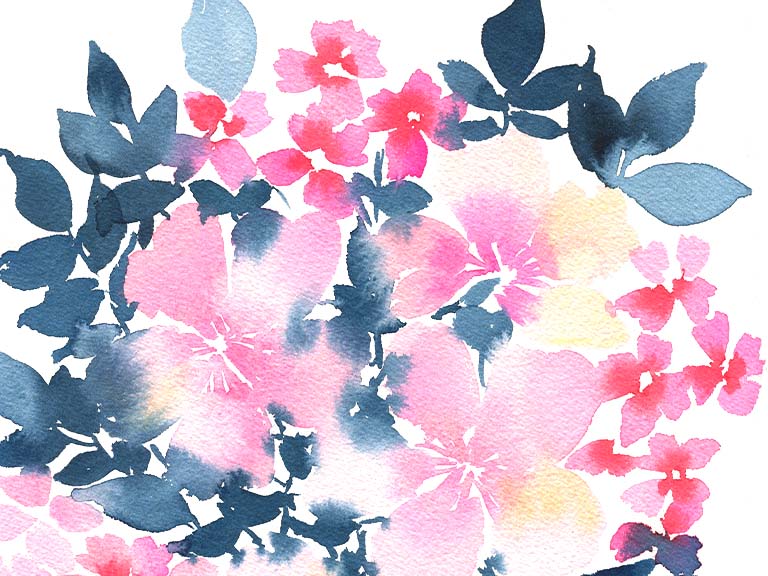
My all-time favourite method for painting loose florals is to use the wet-on-wet technique. While the elements are still wet, I allow the flowers, leaves and centres to all touch each other, creating little colour bleeds on the contact. It gives florals an ethereal look and allows the piece to feel more connected.
Use wet on dry for details
Although most of my loose florals are painted wet on wet, I also sometimes add details with a fine brush after they have dried. This can be used to create extra detail on the petals by adding lines or adding centre shadows on leaves. The wet-on-dry technique is perfect for adding darker tones and more contrast into your finished pieces.
Increase contrast to make it bold
A great way to increase contrast is to use very pale flowers alongside very dark leaves. You’ll see this a lot in my work, using a very pale pink for the flowers and a deep blue for the leaves – it’s one of my signature colour palettes. Another way to add contrast is to add things like berries or wooden twigs. These elements can add a darker pop of colour as well as texture and contrast.
Take my online class on watercolour florals
I have an online class on Skillshare that I’m offering to website readers absolutely free. It’s a loose florals watercolour masterclass that will teach you how to paint any loose floral using some basic brush strokes and techniques. We cover six brushstrokes across 12 different flowers in the class and we then put them all together into a final loose floral bouquet piece at the end. It’s a great place to start if you have never painted loose florals before and I can give you free access to the floral masterclass today!
Painting watercolour florals – top tip
Those are all of my resources to paint florals in watercolour. I really recommend spending time observing flowers themselves, either in your garden and florist or pictures online. There’s endless inspiration in their shapes, colours and composition. Happy painting!
Download my free watercolour supply guide
Feeling overwhelmed and confused by watercolour paints, papers and brushes? Download my free guide filled with insider info, including a list of good supplies for every budget, and my complete supply list!
