The most magical thing about watercolour painting is how the water totally transforms the paint! It goes from a solid block of paint to a beautiful watery mixture, with pigment particles spreading and moving around the page. And then it dries up, the water slowly evaporating off the page.
Often your painting looks completely different when it’s dry – the colours have changed and lightened, the paint has spread and mixed together. It’s all part of the captivating magic of watercolour painting – you never know quite what you’re going to get.
The wet-on-dry watercolour technique takes advantage of this magic by using the drying time to create layers. It brings contrast, depth and detail to watercolour work and it’s a brilliant basic watercolour technique for beginners.
In this article we’ll look at three simple ways to use the wet-on-dry watercolour technique in your painting, plus there’s a bonus project to try at the end!
What is the wet-on-dry watercolour technique?
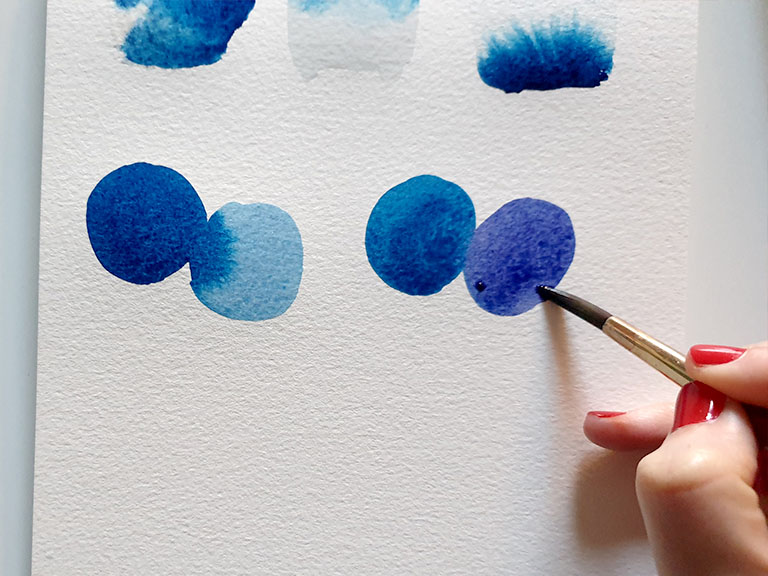
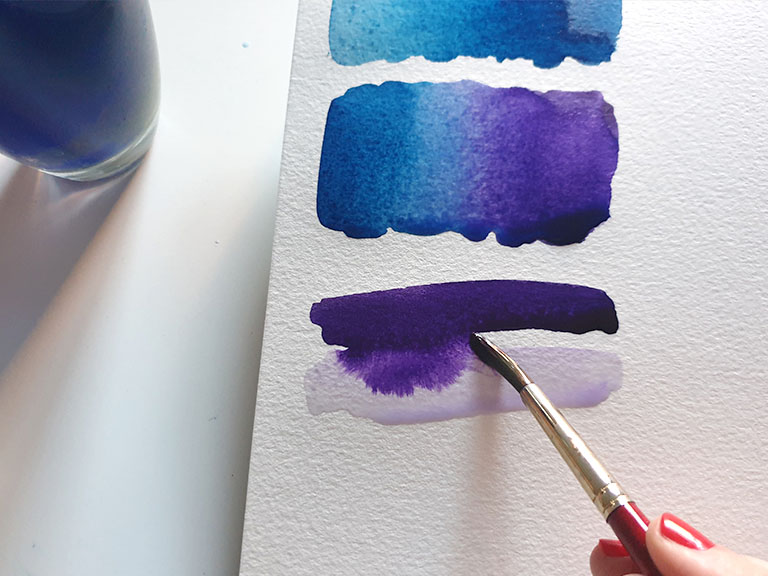
This technique is essentially layering your watercolours. You place one layer of paint on the paper and allow it to dry, and then paint on the top. The bottom layer is dry and the top layer is wet, so that’s why it’s called wet on dry!
Layering in watercolour works differently to other paint mediums like oils or acrylics. This is because watercolour doesn’t have a white for highlights, and uses the paper as the white or lightest colours. It means we work from light to dark, laying down the lightest colours first as the base layer and adding darker tones over the top.
It’s worth bearing this idea in mind when you build a watercolour painting in layers because it can seem backwards to paint from light to dark. It’s important that your top layers don’t inadvertently cover all your highlights and light areas.
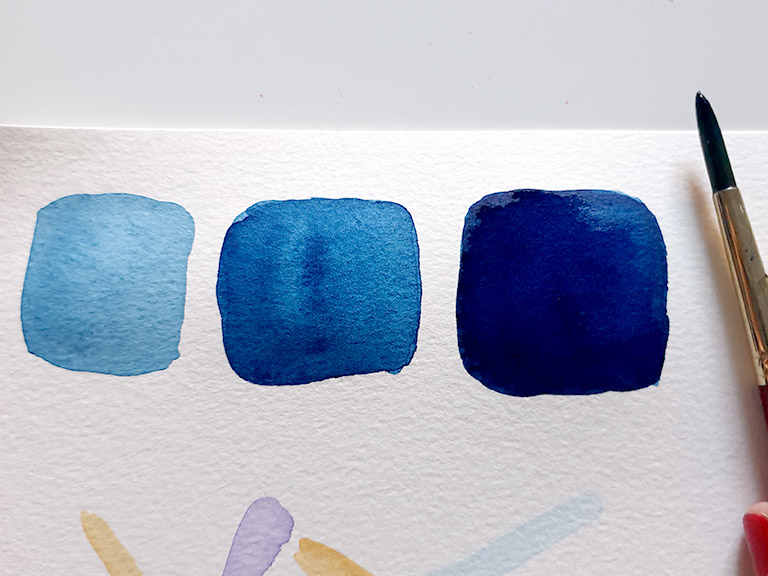
Colour building technique
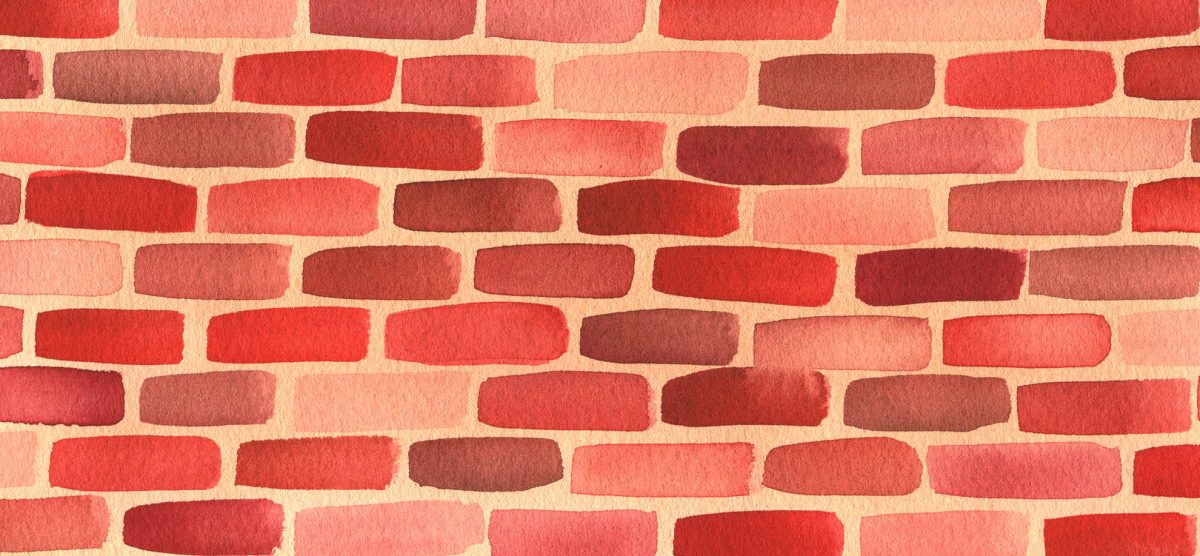
This first version of the wet-on-dry watercolour technique is about building colours to create darker values. Using the same colour, you’ll build a deeper intensity and value by adding multiple layers as each one dries, ending up with a result that’s darker and opaque.
For this exercise, you’ll need a little bit of patience! Start by creating a series of shapes in the same colour. Let them dry and paint a second layer over all except the first. Look how much darker the shapes with two layers are. Allow to dry and paint over again, this time skipping the first two. This will show you how you can build up the colour in stages to create a lot of contrast.
This watercolour technique is perfect for creating depth and contrast in your work, which is really important for watercolour beginners. A lot of newbies struggle with work that looks flat or two-dimensional, and the best solution is to focus on contrast – creating very dark and very light areas.
Layering multiple colours
This wet-on-dry technique uses the same principle we’ve already talked about, but with different colours. Remember the key principle is working from light to dark. You’ll want your lightest tones laid down first, and then medium tones applied over the top while they dry.
For these flowers, I put down a light wash of colours. Once it dried, I mixed up a range of mid-tones in warmer colours and put these down. And for the final layer, I changed colours to add more purple and create shadow areas.
Working with this watercolour technique can help create unity in a piece with multiple colours, because the background wash is all the same. It shows through slightly on the other layers, lending its colour as a base – it just makes the whole painting look more ‘together’.
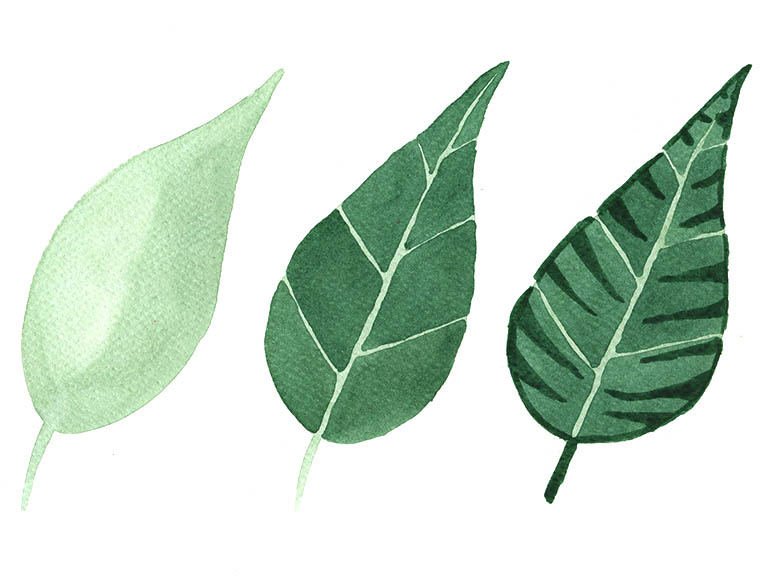
Adding details
You can also use the wet-on-dry watercolour technique to add details over the top of your work. This is a really quick way to make a painting look ‘finished’ and more professional. Make sure your work is dry before adding details, or it will bleed and smudge. If you’re working on intricate details, it also helps to choose a smaller watercolour brush – a size 2 or smaller is a good choice.
You’ll want to ensure that the colours for details are darker than the existing layers, so they show up. Remember that watercolour dries slightly lighter than it looks on the paper, so don’t worry if your details look dark at first.
The details you add depend on the subject! If you’re painting flowers, try adding stamen in the centres, vein details on the leaves and contour lines to indicate the shape of the petals. If you’re painting fruit, try adding imperfections on the skin. For landscapes, add wisps of grass or texture with a dry brush, or tiny silhouettes of birds in the sky.
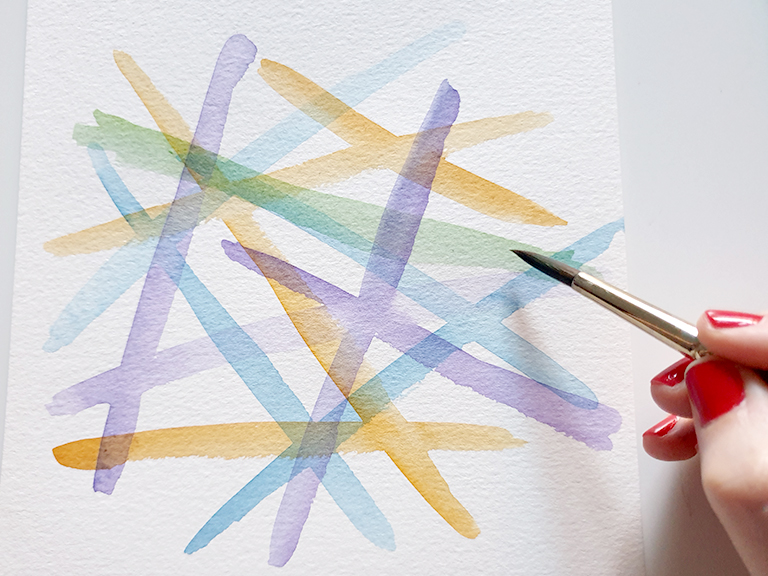
Glazing technique
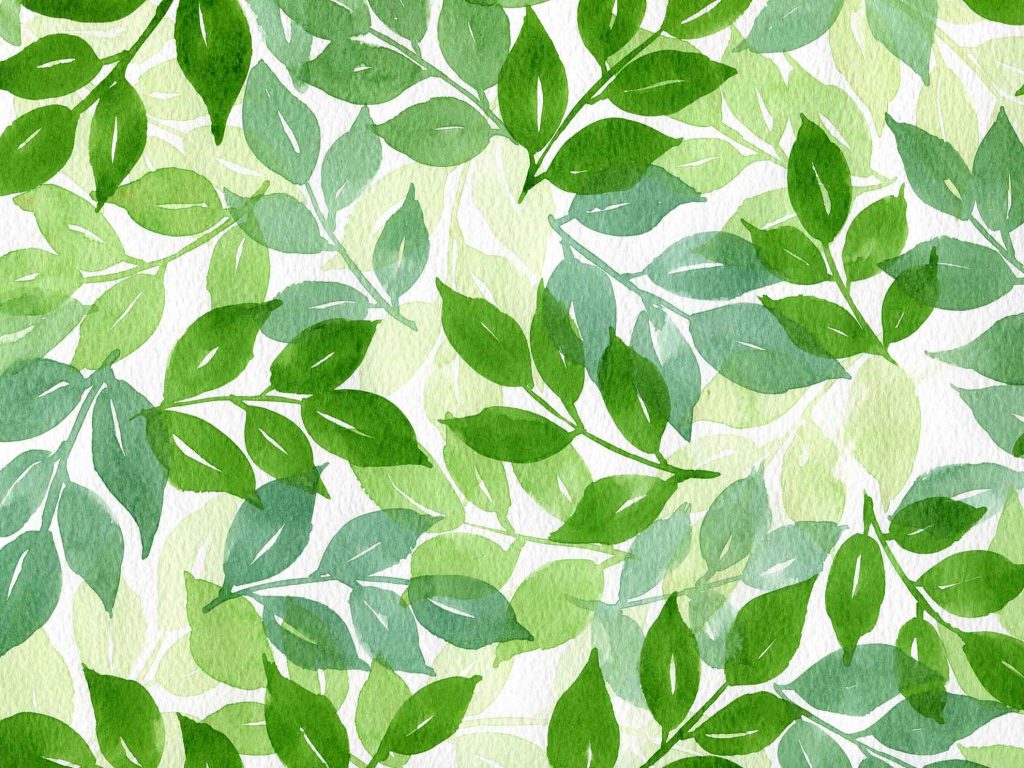
The glazing technique in art is about using thin, transparent layers of colour so that you can see the underneath layers showing through. This is also a really useful watercolour technique because the paints are already translucent.
To use glazing, mix up lighter mixtures of your colours with a lot of water. Put the first one down on the paper and allow to dry – for this example I’m using lines in a criss-cross pattern. Once it’s dry, add the next layer, crossing over your colours. You should be able to see the other colours underneath as you work. Keep going and adding layers and colours until you’re happy.
Another way to use the watercolour glazing technique is by adding a glaze over the top of a finished work. If you create a landscape and want to make it look sunnier, add a light glaze of yellow over the top – it works like an Instagram filter! Be careful to make sure this is subtle, because it’s difficult to life off if you apply too much colour.
How to speed up watercolour drying time
The wet-on-dry watercolour technique means you often need to wait for your work to dry. If like me you’re not a patient person, you can speed it up with heat. However, there are some ground rules to ensure you don’t ruin your work.
You can use a hairdryer as long as it’s on a low setting – you want the water to dry slowly and evenly. You should also remove any nozzles to allow the air to spread as wide as possible rather than having a directional blast. Hold the hairdryer pointing directly down at the paper rather than across it at an angle or you risk pushing the wet paint around and smudging it.
Finally, keep the hairdryer moving – don’t point it at one spot or it may dry patchy. I find it also helps to let your paper cool off before adding more watercolour on top.
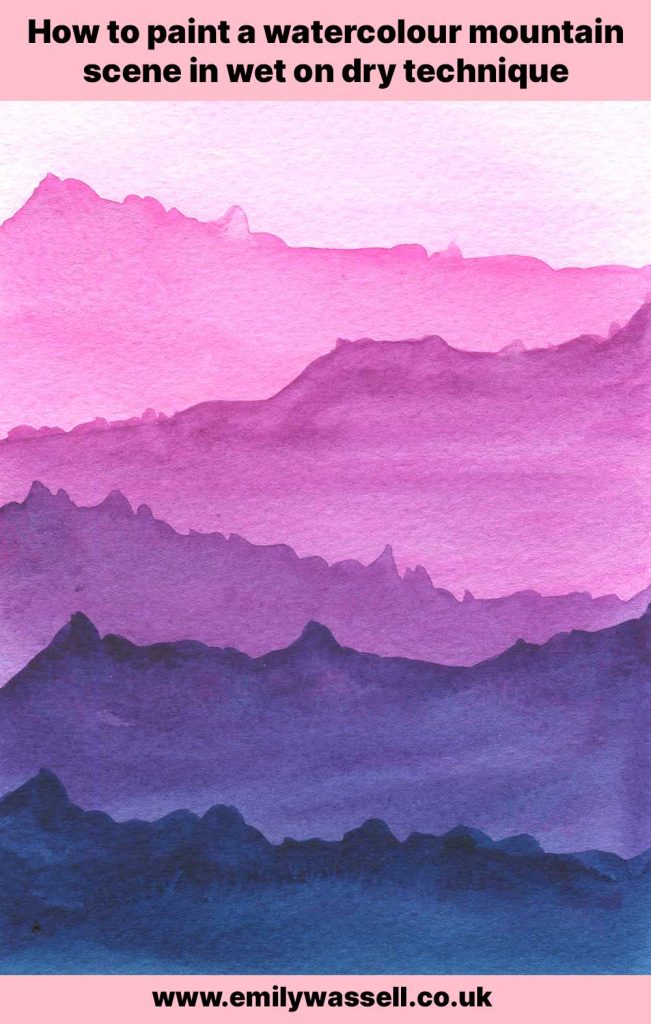
Try a wet-on-dry watercolour landscape
Want to try out your new skills? Try this landscape project from my beginner’s watercolour class.
More essential watercolour techniques
All watercolour techniques list
See all the watercolour techniques you can use to create stunning paintings!
