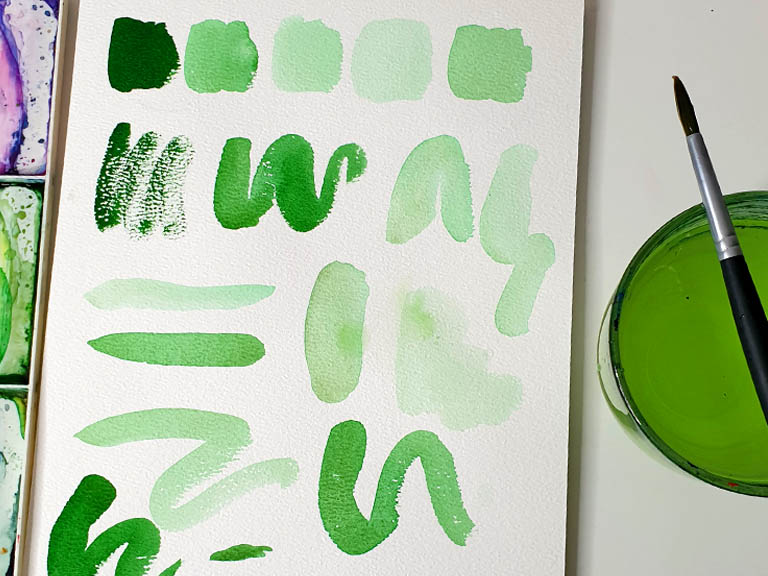
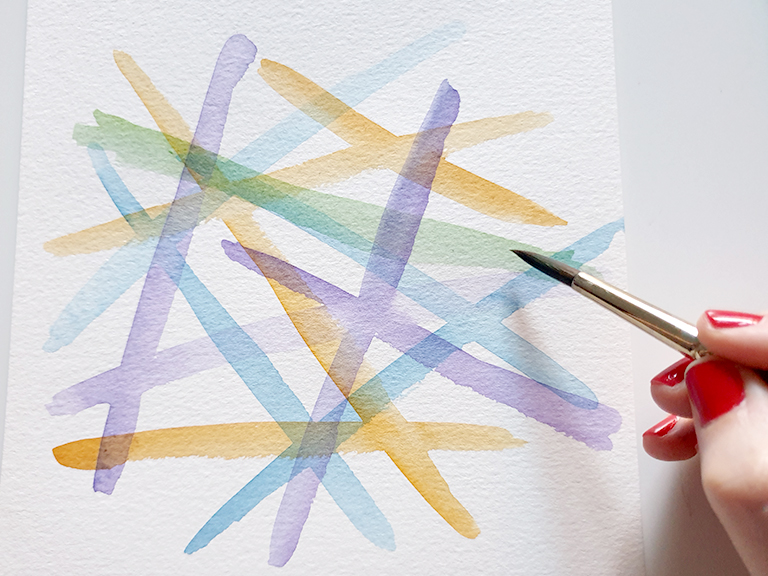
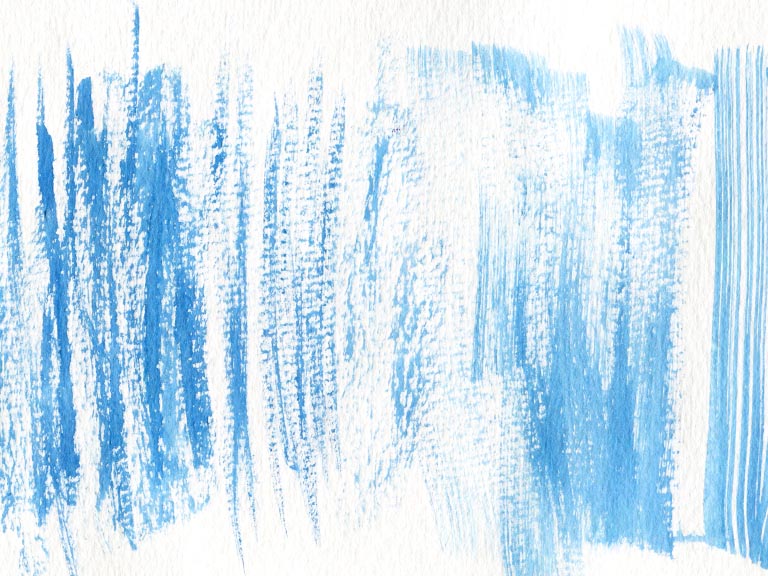
Watercolour is a magical medium that uses water to carry the paint pigment, drying up to create wonderful effects. But this watery nature can make it harder to create smooth blend, because it dries faster than other mediums like oil, so you have to work fast.
Watercolour beginners can often struggle with getting smooth blends, creating lines and patches in their work. It’s a really common frustration and I feel you!
The first thing to know about watercolour blends is that they’re much easier to do while all the areas you want to blend together are still wet. Here’s a run-through of my top tips.
Blending watercolour while wet
The easiest watercolour blends are done with plenty of water. If you’re trying to blend two areas together, make sure they’re both nice and wet – add more water to them if needed.
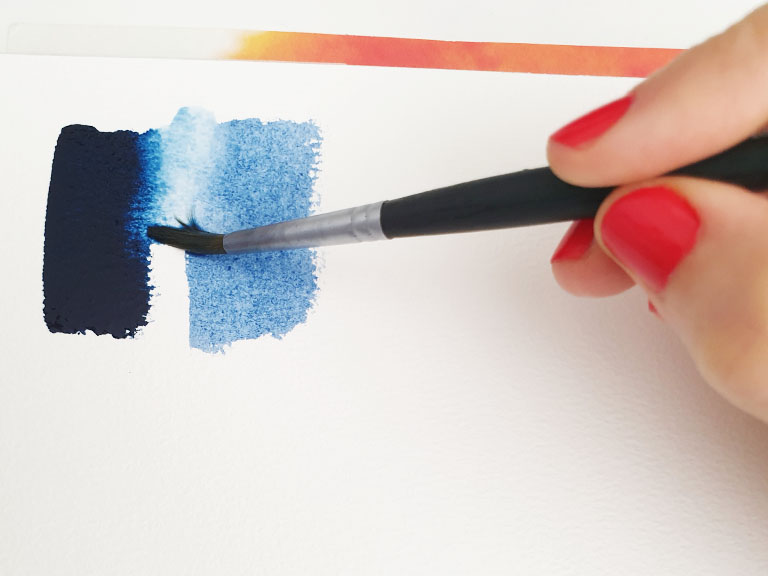
Using a wet brush, touch one side of the area and pull or drag the paint down in zigzag motions to meet the other area, connecting them. Go slowly and steadily, and run back over the join a few times to smooth it out.
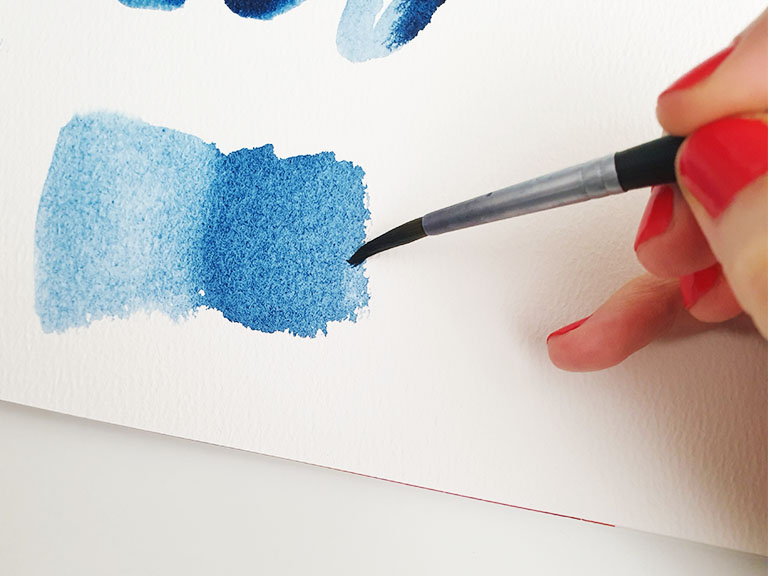
Make sure the water content in both areas is the same- you don’t want puddles or dry patches.
Lift up your brush and see how your watercolour blend looks. If it doesn’t seem smooth enough, wash off your brush and tap it on a paper towel or cloth to remove excess water. Use your clean brush to smooth over the joining area again. Nudge up into both areas a little to make the blend seamless.
Pick up any puddles with a clean brush. You can either use a separate dry one, or dry off your main brush and touch it to very wet areas to suck up some of the water.
Read my guide to how much water to use in watercolour.
Blend watercolour into gradients
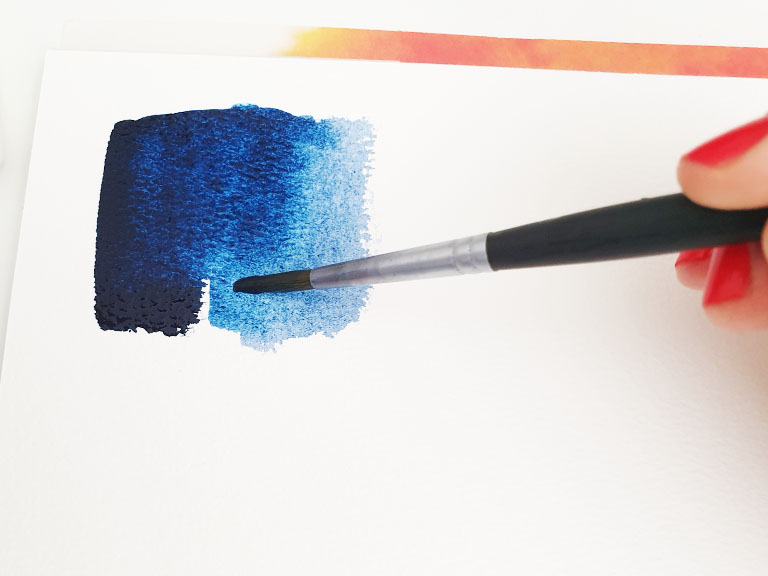
You can use the same blending technique to create smooth gradients from one colour into another. I prefer to start at the top and work down. Put in your first colour and use a lot of water at the bottom of the area. Load up your brush with the next colour and tilt your paper slightly up, allowing the water to pool at the bottom.
Start painting your next area in the new colour, letting the line touch the bottom of the previous section. The colours should run into each other. Lay the paper back down and blend as normal.
Read more tips on creating watercolour gradients with multiple colours in my guide!
Getting natural bleeds
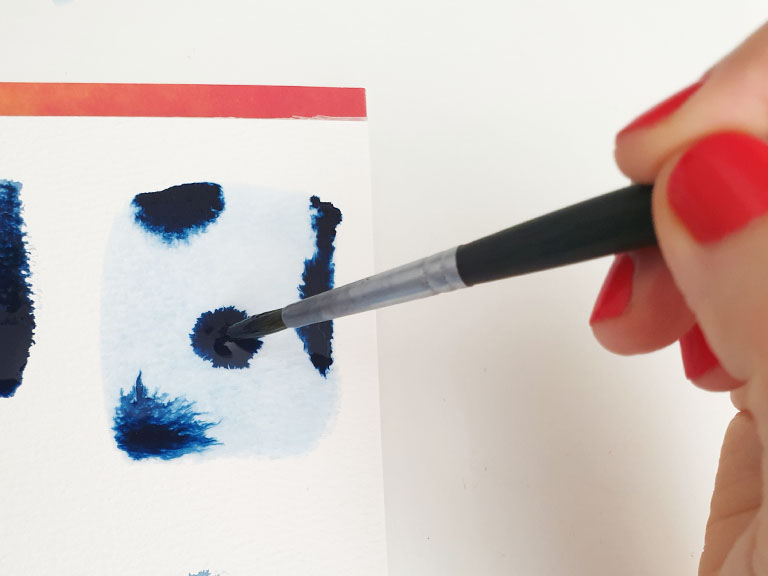
You can also let the watercolour travel and bleed out on its own for beautiful blends. For this, you’ll need an area that’s already wet on your paper, and a darker colour you’re adding. Either paint a base layer or coat your paper in clean water.
Load up your darker colour on your brush- you’re after a relatively thick mix. Touch your brush into the wet paper and let it blend out on its own. I strongly advise not trying to blend it with your brush! Tempting though it is, try and resist.
The colours will blend out naturally and create diffused effects. You can also change this with the water level. A very wet mixture will travel further across the page but get lighter and fade out. A richer, thicker mixture will not travel as far and stay dark.
Blending into dry watercolour
There may be times when you want to blend your paint into an area that’s already dry. Maybe you’re adding further layers, or part of your work has dried before you finished it. It’s still possible, but needs a little care to avoid lines and hard edges.
You have two choices – re-wet the whole area or use clean water to blend. To do the whole area, blend the watercolour using the methods above as normal, working over your dry base layers. This works well for large areas like backgrounds and skies.
If you want to do a smaller area or only repaint one bit, such as adding shadows or darker overlays, you can use a different technique. Paint your darker section in and stop. Using a small brush with a bit of clean water on, drag out the colour a little bit to smooth the edge, working over to just clean water until your brush gets dry. If your area is small, you can also start with clean water and work back into your shadow area. Keep an eye on this as it dries, to catch any lines or hard edges.
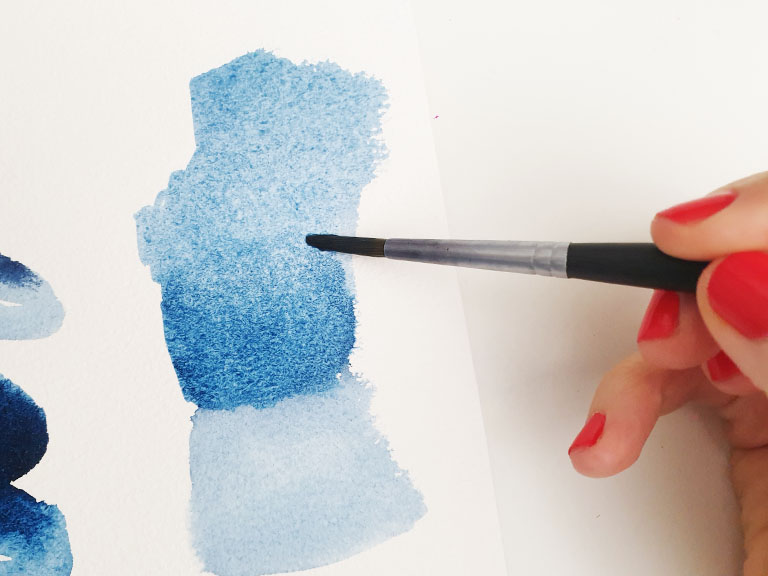
If your work has dried and you’ve got lines through your watercolour blends or patches with hard edges, don’t panic! First, I have to take a moment here to say that blooms and hard edges in watercolour are not bad – many artists use them for creative effects and they’re not mistakes.
However, if you do want to fix watercolour painting mistakes, it’s possible though a little fiddly. We’re essentially going to use the same blend on dry technique above. Take a brush and make it damp but not wet – we don’t want more puddles here. Rub it gently over the line or hard edge to reactivate the watercolour and smooth it out. You only need a little pressure to avoid damaging the paper and we’re aiming to smudge it out into the surrounding areas.
It might not be perfect, but this should reduce that hard, dark line. Find out more about fixing hard edges in watercolour here.
How paper affects watercolour blending
The last thing to say about watercolour blends in watercolour is that your paper has a big effect. If you’re seeing a lot of patches and having trouble creating smooth transitions, your paper could be to blame.
Cheap watercolour paper is more prone to drying out quickly and creating patches. It’s honestly the most important watercolour supply to get right – cheap paints and brushes are usually fine, but cheap paper can be difficult to work with.
Cotton paper stays wet for longer, giving you more time to create smooth blends. It also helps with puddles by drying out very slowly, avoiding patches with hard edges. If you’re not ready to invest, it might be easier to cut down your paper to a smaller area so you can focus on keeping it all wet while you work.
Here’s my guide to choosing the best watercolour paper.
Download my free watercolour supply guide
Feeling overwhelmed and confused by watercolour paints, papers and brushes? Download my free guide filled with insider info, including a list of good supplies for every budget, and my complete supply list!
