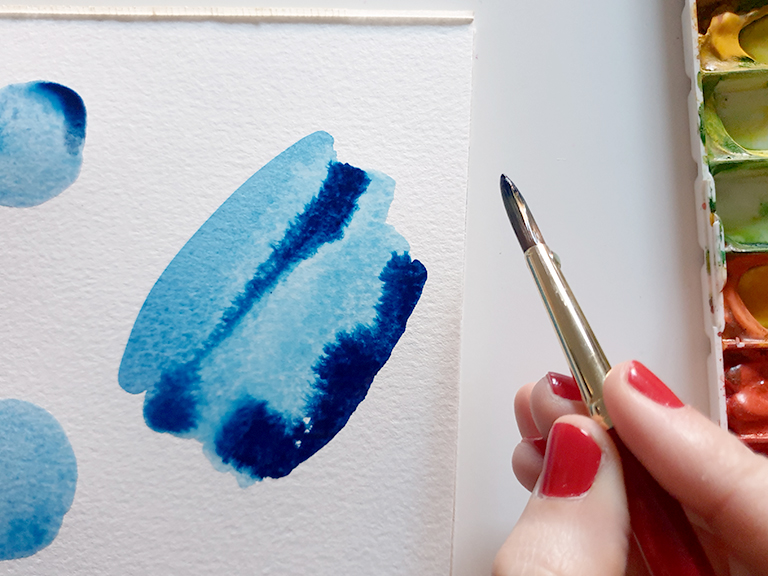
We all know the feeling of disappointment. You made a gorgeous watercolour painting and left it out to dry. But when you come back, it looks so different. It’s full of patches and hard edges that leave harsh lines in the middle of your work.
Don’t despair! These are super common when you start painting in watercolour and there are ways to fix them. Let’s look at how to resolve this basic watercolour problem.
What causes hard edges in watercolour?
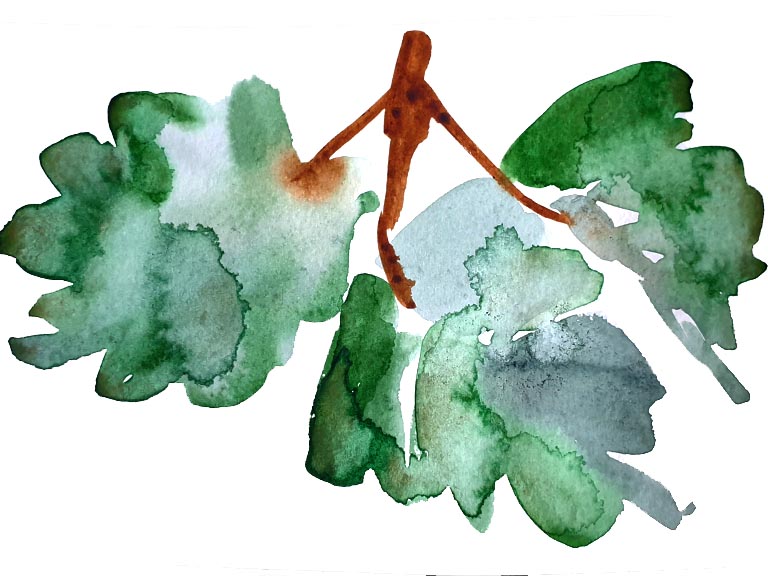
Essentially, hard edges are caused by uneven water content in your work that dries at different rates. It could be that you had a puddle at the end of a stroke, or your paper buckled a little and created a dip that collected a pool of water. Maybe you added some nice dark paint for a cool wet on wet effect, but now it has a harsh line around it.
Hard edges are also caused by some areas drying out too fast as you’re still painting. This is affected by paper quality- cheaper watercolour paper is thinner and dries out faster, making it more likely to get patches that create hard edges.
You can also get hard edges from adding more wet paint over a dry layer and not blending it out properly.
Read my guide to how much water to use in watercolour to understand what is too much or too little water.

Are hard edges a bad thing?
It’s important to say that hard edges are not bad or mistakes – many artists use them for creative effect and texture. However, many watercolour beginners find them appearing in places they don’t like. If you don’t want them in your work then it’s important not to have patches of very wet paint alongside dry paint.
How do I stop getting hard edges?
Prevention is easier than cure. The best way to prevent hard edges is to keep an eye on your water levels as you paint. Watch out for puddles and pick up excess water with a dry brush or piece of paper towel. You should also look out for dry patches and avoid adding lots of water in or next to them.
Make sure to blend out any new paint layers to make sure they don’t sit as puddles in the middle of an area.
How to fix hard edges that have dried
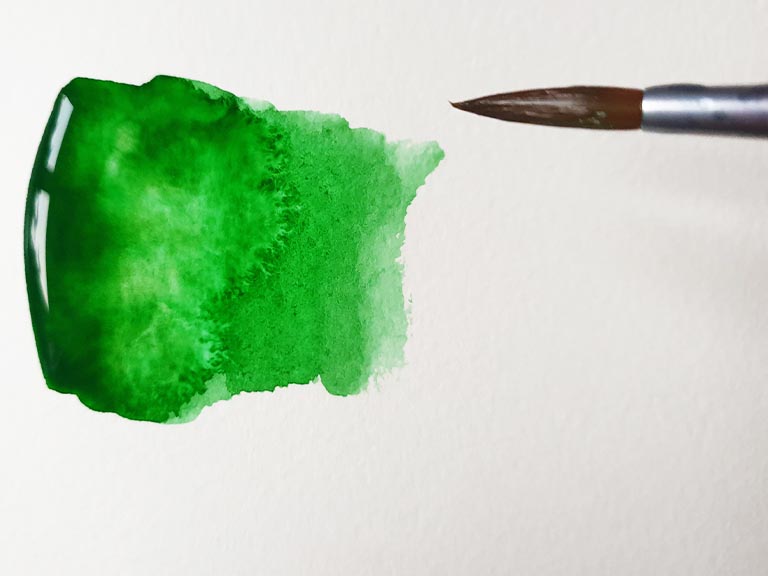
It’s a little tricker to fix hard edges in dried watercolour paintings than to prevent them as you’re working. However, with a light touch you can try and lift the darkest edges.
Make sure you’ve got a clean paintbrush and clean water. You might also want to use a small brush, since they hold less water. Get them brush damp but not dripping wet, and gently rub over the hard edge. You’re trying to reactivate the line of paint with a little water, and pick it up with the brush. Rinse off your brush, dry it a little on a paper towel and go again if needed.
The idea is to smudge out the line so it’s not so harsh. Take care not to add a lot of water or you’ll create a puddle and new hard edges! You should also use a light pressure so you don’t damage the paper underneath – don’t use a scrubbing motion.
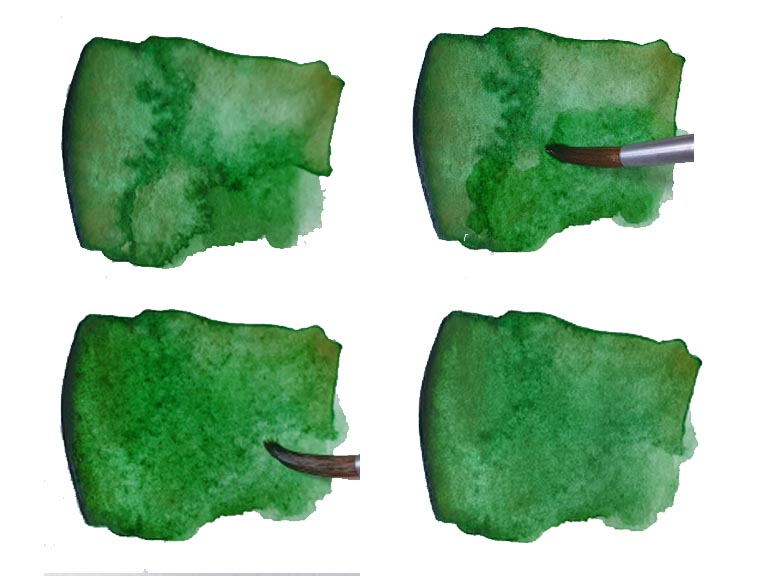
If you’re struggling to lift it, try painting a light glaze over the top to even it out. Mix up a watery colour and repaint over the area, gently rubbing your brush on the hard edges to dislodge them. Make sure to blend out the edges of your new wet area – take a clean, damp brush and work around the edge until you have a smooth transition from wet to dry.
If you think you’re making a mess, stop! It’s sometimes easy with delicate watercolour to try and fix a minor mistake and make it into a huge visible spot in your work.
I promise that other people can’t see them as you do.
Are hard edges in watercolour bad?
No, not at all! Hard edges are a watercolour effect, not a mistake. Many artists (including myself!) use them to great creative effect. I often enjoy finding them in my dried work and think they add a fun finish.
And they’re only really noticeable to you – other people won’t see them.
Read my guide to creating smooth blends in watercolour to create seamless transitions in your painting!
If you’ve dripped your paint, read my guide to fixing mistakes in watercolour.
Download my free watercolour supply guide
Feeling overwhelmed and confused by watercolour paints, papers and brushes? Download my free guide filled with insider info, including a list of good supplies for every budget, and my complete supply list!
