Oranges are such a fresh, summery fruit! And they’re really easy to paint in watercolour.
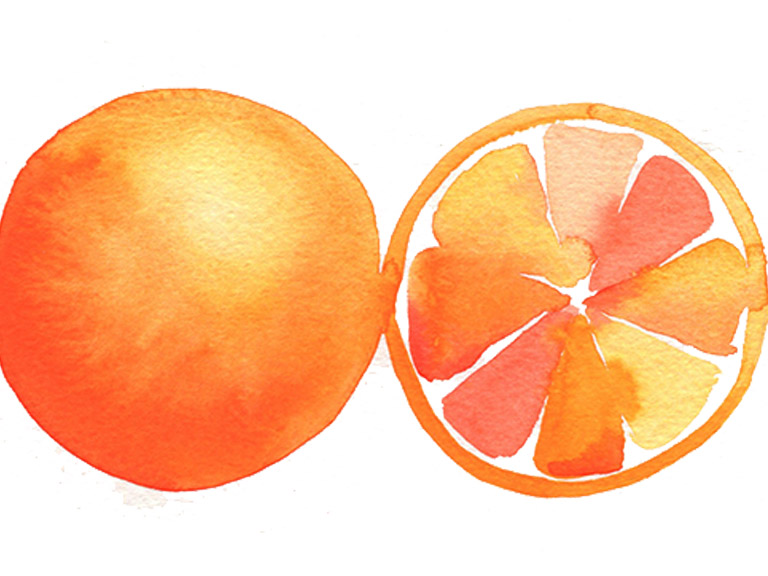
In this tutorial, I’ll show you how to paint a whole orange, using shading to make it seem spherical and adding texture to the skin. And then we’ll paint a cut orange half, adding segments and letting them blend together. Let’s get started!

What you will need
- Watercolour paints
- Watercolour paper
- Paintbrushes
- Water jars
- Paper towel
Colours
- Cadmium Orange
- Scarlet Lake
All the watercolour paint I use is Winsor & Newton Professional.
How to paint oranges in watercolour – step by step
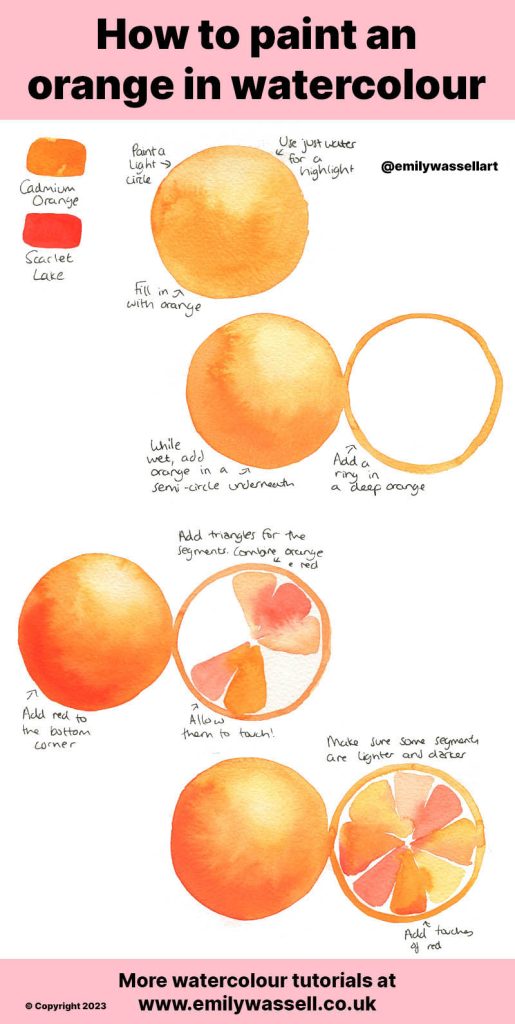
- Start by creating a circle in a light orange wash. Drop some clean water in the top edge and let it spread to create a highlight.
- Add an arc of darker orange on the underneath opposite the highlight and allow to blend out.
- Repeat again with an arc of red right on the shadow side and allow to blend..
- While it dries, add another ring in a mid-orange colour. Then paint a small triangle in the centre for the segment.
- Change the colour on your brush and add a second segment triangle, letting them touch. It could be more red, or more water to fade the value. Repeat the process until all the segments are complete.
- Finish with little touches of red along the edges of some segments to create contrast.
And that’s how you paint an orange in watercolour! I love to fill up a whole page like this.
Other watercolour fruit tutorials
More tutorials
- Tutorial: How to paint craspedia flowers in watercolour
- Tutorial: How to paint cherries in watercolour
- Tutorial: How to paint plums in watercolour
- Tutorial: How to paint pears in watercolour
- Tutorial: How to paint a frilly parrot tulip in watercolour
- Tutorial: How to paint a stargazer lily in watercolour
Download my free watercolour supply guide
Feeling overwhelmed and confused by watercolour paints, papers and brushes? Download my free guide filled with insider info, including a list of good supplies for every budget, and my complete supply list!
