Zinnia flowers are a burst of summer happiness in the garden! I love their vibrant colours and daisy-like silhouette.
Painting zinnias in watercolour is super easy with this quick watercolour tutorial, covering the showstopping flower centres, then adding the petals using the foreshortening technique to create a perspective angle. Finally, we’ll add stems and leaves to frame your beautiful flower.

Painting supplies you’ll need
- Watercolour paper (I’m using a 7×10 in block)
- Watercolour paints
- Brushes (I’m using size 6 and size 2)
- Water jars
- Paper towels or cloth to dry your brushes
Colours
- Cadmium Yellow
- Dioxazine Purple
- Opera Rose
- Cadmium Orange
- Sap Green
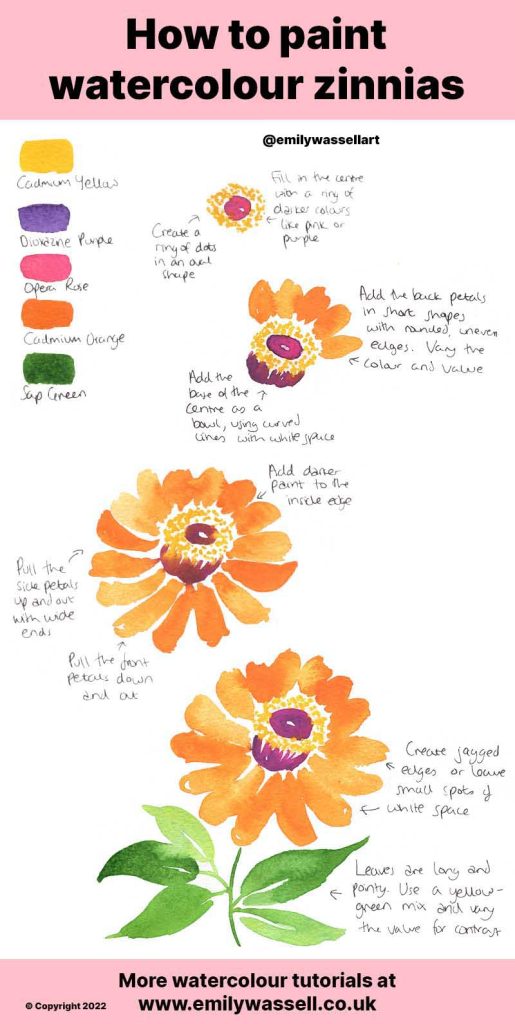
You can use any colours for your zinnia but we’re working with a contrast palette today so you’ll need two high contrast watercolour paint colours – I’m using orange and purple.
By contrasting colours we mean colours that sit opposite each other on the colour wheel. They clash when used together, so using a small amount of purple in the centre makes the orange look more vibrant and striking.
Watch the zinnia watercolour video tutorial
Painting a watercolour zinnia step-by-step
- Start with the centre. Choose a point towards the top of your paper and use the tip of your small watercolour brush to create a small ring of dots in a yellow colour. Make sure to leave lots of white space between them for a fine texture.
- Wash off your brush and add a smaller ring in the centre, in a purple-pink mixture. Try not to let this touch your yellow paint or it will mix together to make a brown.
- Using the same purple colour, create a bowl shape under your yellow ring, pulling up a few lines for texture.
- Grabbing a bigger brush, mix up your orange colour. Starting at the back of your centre, pull up a few short petals with rounded edges. As you finish each petal, try to change the colour or value. You could add yellow to your mix, or wash off your brush to add more water.
- Move on to the side petals, pulling these out a little longer. Allow the petals to bleed together as they touch, creating beautiful effects. Make sure to create some really light ones with a lot of water for high contrast!
- Finally, paint the petals underneath the centre, making these much longer. This is a technique known as foreshortening, where you make parts closest to the viewer appear longer to create a clever 3D effect.
- Adjust your shape as needed to get the overall flower to be round-shaped. If your petals are all a similar colour, add darker paints to a few, or remove excess paint with a damp brush to lift the colour.
- Now add the stem and leaves. Pull out a curved stem, starting just underneath the flower.
- Add the leaves coming off the stem at different angles. Leave a highlight in the centre of your leaves for brightness. Pull each leaf in different directions, and vary the value by adding more or less water to make it darker or lighter. Let the leaves touch for pretty bleeds!
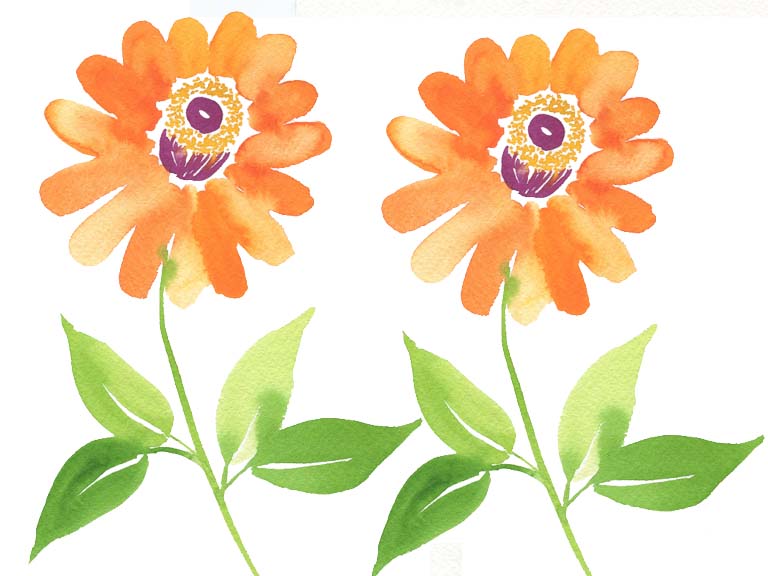
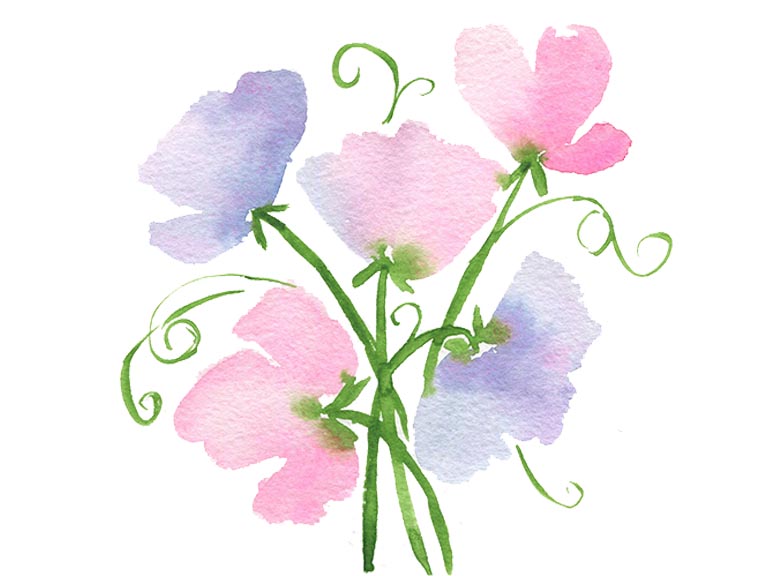
Now your beautiful zinnia painting is finished! I hope it turned out as pretty as you wanted. You can paint these flowers in any colour you like, or add them to a bouquet of different flowers for a striking focal point.
If you want to learn more about painting florals in watercolour, read my full guide for more tips and advice!
Download my free watercolour supply guide
Feeling overwhelmed and confused by watercolour paints, papers and brushes? Download my free guide filled with insider info, including a list of good supplies for every budget, and my complete supply list!


