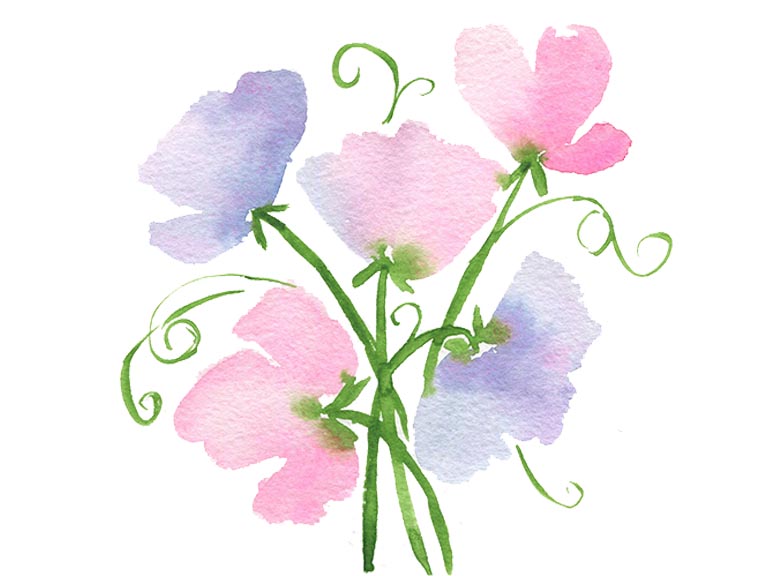
Sweet peas are some of my favourite flowers! Their delicate petals are like tissue paper in stunning candy colours, and those winding tendrils and stems barely look strong enough to hold them up.
But once you’ve picked them from the garden, sweet peas soon start to wilt. That’s what makes painting them so fun – you can capture their beauty permanently and keep enjoying their colours. Here’s an easy watercolour tutorial for you!

Watercolour supplies you need
- Watercolour paper
- Watercolour paints
- Brushes (medium and small for details)
- Water jars
- Paper towels or cloth
Colours
Choose any colours you like for a pastel effect. I’m using pink and blue to mix up my petals.
- Sap Green
- Turquoise
- Opera Rose
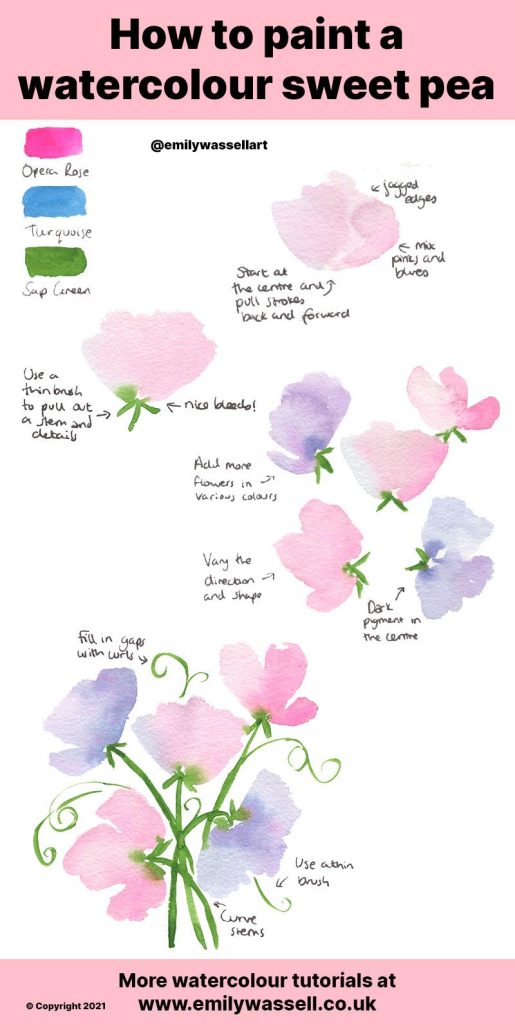
Painting sweet pea flowers – step by step
- Mix up a pastel colour using a light pink and blue mix, adding lots of water. Paint your first petal in a fan shape, starting from the bottom and pulling your stroke back and forth. Keep the edges rough and loose.
- Add green paint to your thin brush and create a stem with fine leaves details. Let it touch the bottom of the petals for little watercolour bleeds!
- Add more flowers in the same way, varying the direction. Keep mixing the colours so they’re all different.
- Put darker pigments into the centre of flowers for shadows, and create the little stems and details.
- Create your stems and curling tendrils to fill the space. Use a thin brush and keep the shapes curving and flowing.
- Fill up your page! Sweet pea flowers are meant to be free-flowing.
Download my free watercolour supply guide
Feeling overwhelmed and confused by watercolour paints, papers and brushes? Download my free guide filled with insider info, including a list of good supplies for every budget, and my complete supply list!
