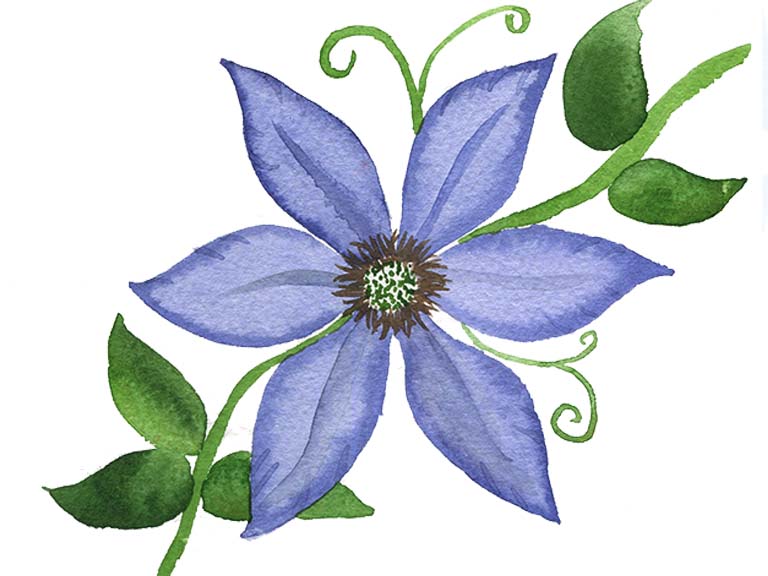
Paint a beautiful clematis flower the easy way in watercolour! We’ll be celebrating spring with these powerful flowers. I love to see them climbing over trellis, and we’ll be working on capturing the curly tendrils and winding elegance.
I’m using a light purple for the clematis flowers, but you can use any colour. I recommend light pastel colours that stand out against the rich green vegetation. Here’s an easy watercolour tutorial for all you flower-lovers!
Watercolour supplies you need
- Watercolour paper
- Watercolour paints
- Brushes (medium and small for details)
- Water jars
- Paper towels or cloth
Colours
Choose any colours you like!
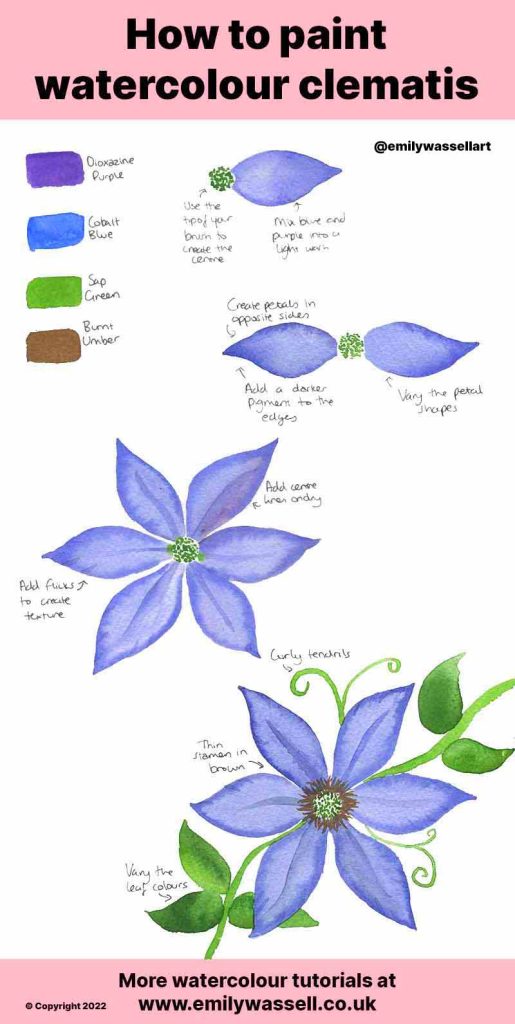
- Sap Green
- Dioxazine Purple
- Cobalt Blue
- Burnt Umber

Painting clematis – step by step
- Use the tip of your smaller watercolour brush to create a circle of dots for the clematis flower.
- Mix up your petal colour. Pull out a long petal on each side of the centre, created a rounded shape and a pointed tip. Make sure the shapes are slighly different to create a natural look.
- While still wet, touch a darker paint to the petal edges to create a wet-on-wet effect and a three-dimensional shape.
- Add two petals above the centre using the same methods, and two petals underneath the create the six-point shape.
- Once the petals are dry, use a fine brush to add a centre line on each one, and tiny curved lines around the edges for texture.
- Add a wavy stem through the centre, and add darker green leaves that are small and compact.
- Add long curly tendrils to fill any gaps.
- Finish with a ring of brown filaments around the centre and you have a completed clematis flower!
Paint more spring flowers in watercolour!
Here are some of my favourite spring flowers:
More watercolour advice
Download my free watercolour supply guide
Feeling overwhelmed and confused by watercolour paints, papers and brushes? Download my free guide filled with insider info, including a list of good supplies for every budget, and my complete supply list!
