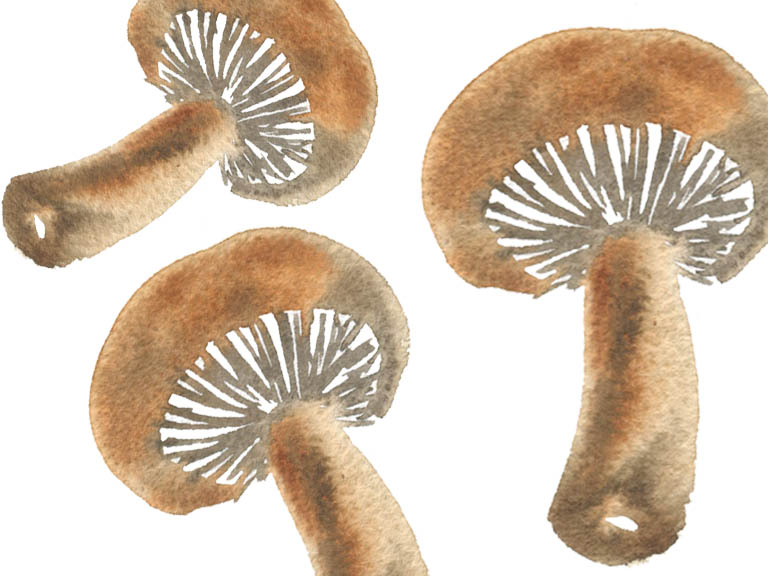
Mushrooms are a great subject for watercolour painting because they have an amazing texture and any granulating pigments can add a ‘dirt’ feel.
This watercolour tutorial will show you how I make mushrooms in a loose style, perfect for illustrating your own recipes or just having fun with your supplies!

Supplies you will need
- Watercolour paper
- Watercolour paints
- Round brushes
- Water jars
- Paper towels
Colours to try
- Yellow Ochre
- Burnt Umber
- Sepia
All the watercolour paints I use are from Winsor and Newton’s Professional range, but you don’t need these exact shades. We’re after some browns, blacks and yellows to mix together.
Painting watercolour mushrooms – step by step
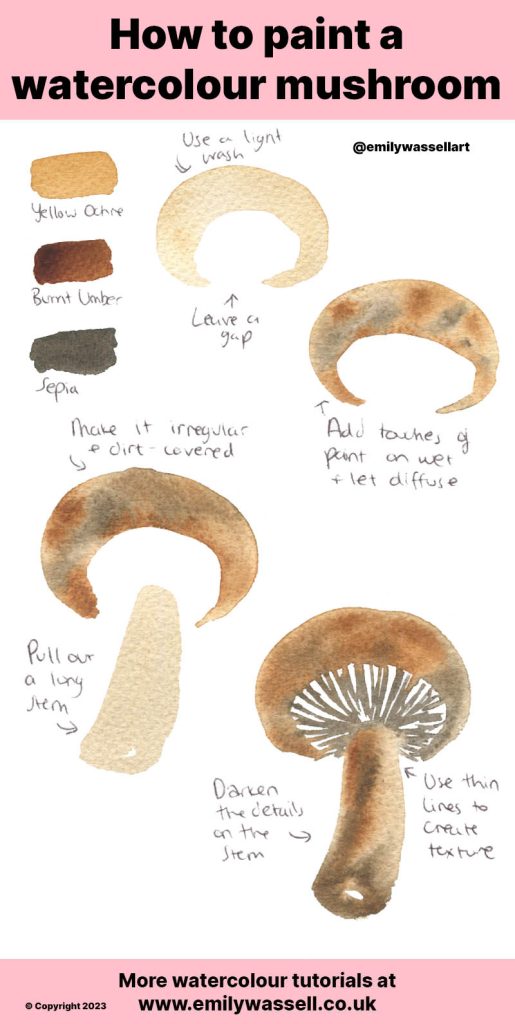
- Start with your yellow or lightest brown, and mix up a light wash. Paint a rounded shape with the thickest part on the top, tapering back to two points underneath and leaving a gap in the middle for a stem.
- While it’s still wet, grab some of your other colours and drop the paint in, allow it to diffuse out. You want to aim to darken the inside rim and add blobs of brown, grey or black to show the dirt. The finish should be irregular so don’t blend!
- Back to your light colour, pull out a stem. Leave a gap from the inside rim and aim for a thick curve with a small highlight on the end.
- As before, use the darker colours on wet to create shadows and dirt on the stem, especially at the end.
- Finally, use some light flicking lines in a deep colour to create the texture under the mushroom cap, with white space between them. Let it touch around the rim of the mushroom to blend out.
Now you can paint mushrooms! Why not try some different types like oyster or shitaake?
More watercolour tutorials
Even more ideas
Download my free watercolour supply guide
Feeling overwhelmed and confused by watercolour paints, papers and brushes? Download my free guide filled with insider info, including a list of good supplies for every budget, and my complete supply list!
