Watercolour is a great art medium for beginners because it’s so easy to use! You don’t need any special equipment or a studio, and it doesn’t make too much mess either.
There are lots of different ways to use watercolour, depending on your materials and the techniques and effects you want to create. Here are some of the most common methods.
How to use watercolour paint
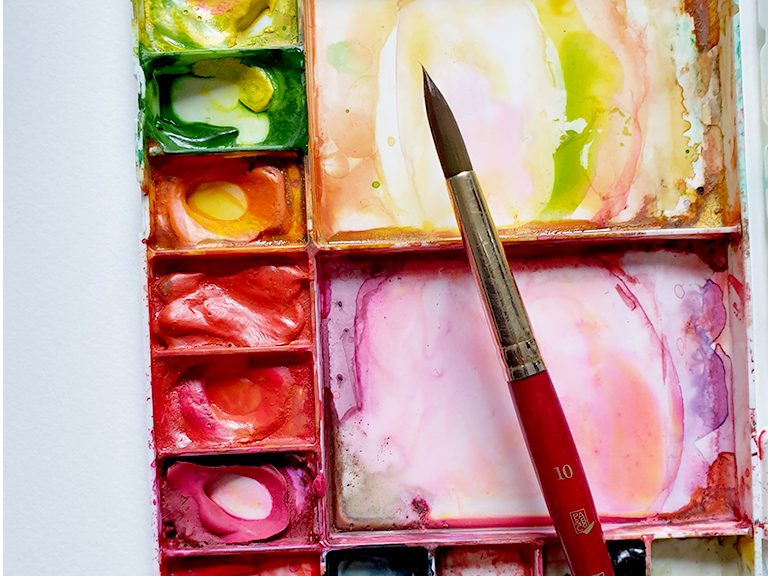
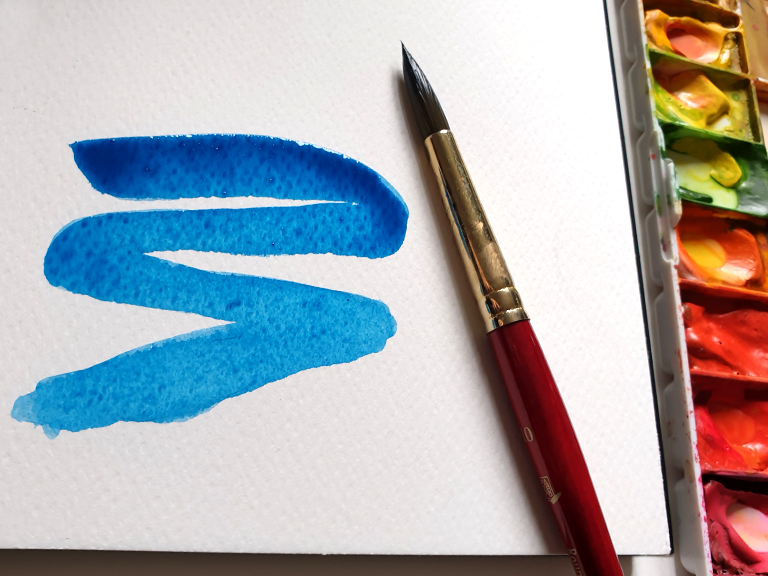
Using watercolour paint is easy! First, swirl your brush in some clean water and mix it on your paint palette to get the paint wet. Then use your brush to spread the paint mixture on your watercolour paper. Add more paint as you need, and you’re done!
Watercolour paints are activated by water so you can spread them on the paper. Then the water evaporates and leaves behind the pigment, which is your painting.
Why do you add water to watercolour?
We know that watercolour is a paint that you use by softening and diluting it with water. The more water you add, the lighter the value (colour) will be. Use less water to create a thicker the mixture for a darker paint.
The right way to add water to your paint depends on the format you’re using – let’s see your options!
How to use watercolour pans
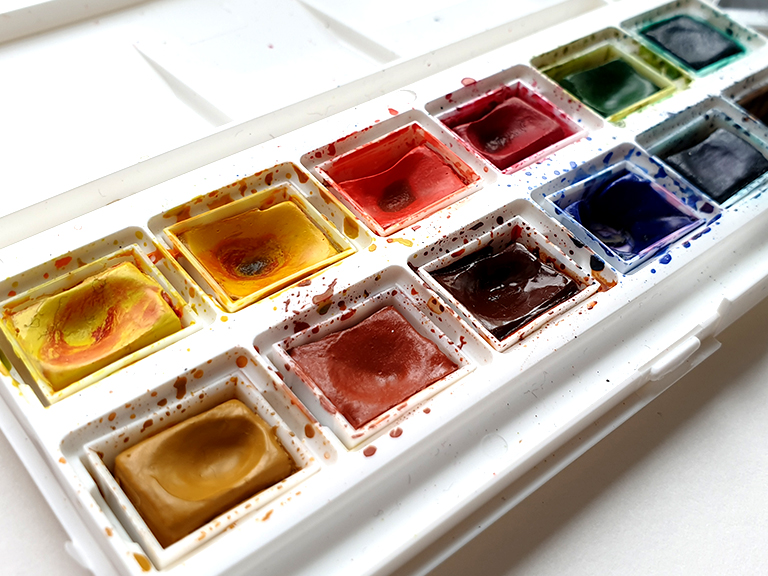
Pans or cakes are small plastic pots of dried watercolour. They are the most common format for watercolour palettes and tins because they’re small, convenient and don’t create too much mess. They often come in plastic or metal containers that open out, with a lid you can use for mixing colours.
The best way to use watercolour pans is to add plenty of water to activate the dried paint. The fastest method is to use your brush to pick up some water and swirl it around (gently!) on the surface of the pan to activate the paint. Make sure you rinse your brush off before using water to activate the next colour, to avoid contaminating your colours.
Tip! If you do get one colour mixed into another pan, simply use a damp paper towel to dab or wipe the surface and remove the excess colour.
If you’re using watercolour pans, it helps to activate all the colours you want to use before you start painting – this means your work won’t start to dry out while you’re mixing other colours. Some artists wet their brush and leave a drop of water on each pan for a few minutes, to create a nice layer of wet paint on the surface.
Others love having a little spray bottle of water – simply spray across your palette to activate all your paints at the same time.
How to use watercolour tubes
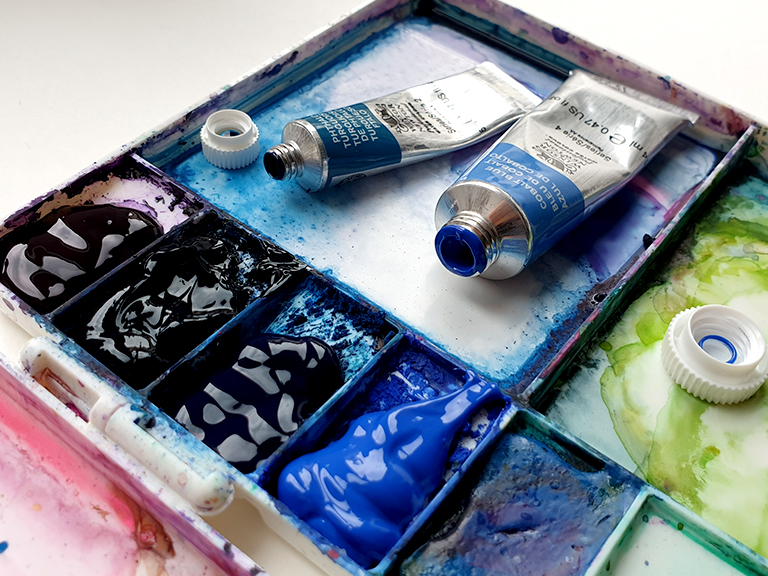
Watercolour tubes contain a creamy consistency of paint. You can use tube paint in two ways – straight from the tube while it’s still wet, or squeeze a bit out and allow to dry before painting later.
If you’re using watercolour tube paint wet, it’s easiest to squeeze a blob out onto your palette. Wet your brush and move it around in a circle, just touching the edge of the blob to pick up some pet. Watercolour tube paint is made to be used diluted and you only need a tiny bit of pure paint to create enough to make a whole picture!
If you don’t need to use all the watercolour paint straight away, don’t worry. You can let it dry and simply come back and reactivate it later – it won’t go off. This is how I like to use my watercolour tubes – I squeeze them out into my palette and let them dry overnight. It helps make sure I don’t waste too much paint by using it wet. Then you can just paint as normal!
How to mix watercolour paint
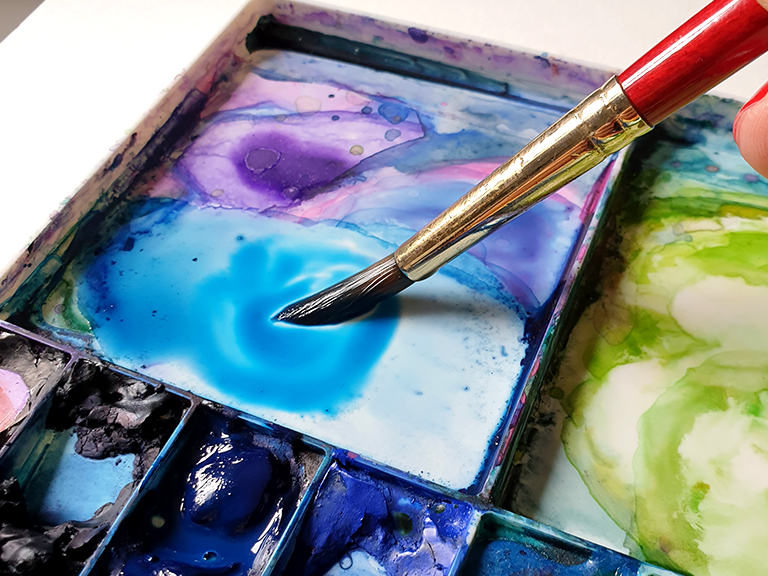
Once you’ve activated your paints with water, it helps to move over to a palette or mixing well. If you use watercolour paint by going directly from pan or tube to your paper, you’ll probably end up with a mixture that’s too dry and dark.
Instead, pick up some colour on your brush and swirl it around a mixing palette. You can use the lid of your paint palette, a custom palette or even a ceramic plate! There are lots of option available. I prefer plastic because it’s lighter (and I’m less likely to drop it and smash it!) but you can buy ceramic or metal ones too.
Tip! If the paint on your plastic palette beads up and makes it hard for you to see the colour, you need to scratch the surface. Try lightly rubbing it with sandpaper, a wire brush or an old toothbrush to remove the perfect surface coating.
Now you have some paint and water in your palette or mixing area, you can judge the colour and consistency. Add more water to make a colour lighter, or more paint from the pan or tube to make it darker. Make sure to mix up a good amount of colour if you’re planning to cover a large area – it’s always harder to colour match later if you run out partway through.
How to mix different paint colours
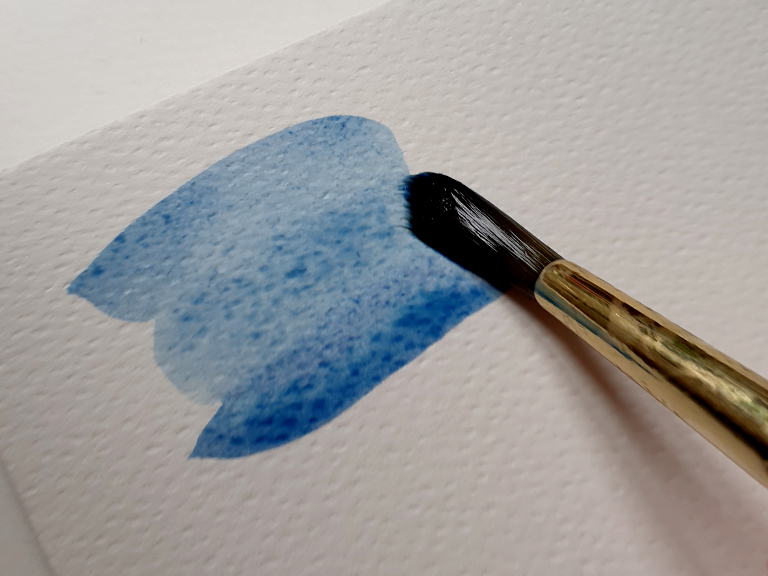
You can also use watercolour paint to create colour mixes. This is where it gets really fun – the results can surprise you! If you want to practise colour mixing, the best way to try it is to choose two colours and mix them together in varying levels.
Start with a pure mix of one colour and paint a square or circle on your paper. Then go back to your paints and add a small amount of another colour. Paint another shape on your paper and see how the colour has already started to change. Keep adding a bit more colour and painting shapes until you reach a half-and-half mixture between the two colours. Then keep adding more until you’re at full strength of the second colour.
Here I did this with pink and yellow and it created so many gorgeous peach and orange tones! You’ll be amazed how many colours you can mix with just a few starter colours.
How much water should I use?
This is one of the most common questions beginners have about using watercolour paint. There’s no simple right answer because water is used to lighten your colours, so it depends how light you want to go. Generally though, you need more water than you think!
The best way to think about it is this – you want enough water to create a fluid paint that can be easily spread on the paper, and will remain wet for a few minutes so you have time to blend or add wet-on-wet effects. Most of the watercolour on your brush should actually be water.
If your paint is too dry, you won’t get a smooth application – your brush will dry out in the middle of the stroke, and you’ll get a jagged effect where it drags across the paper surface. The colour will look uneven, and it will dry patchy before you have time to finish.
On the opposite side, if you have too much water on your brush and it’s almost dripping off, this may be too much water. You’ll probably end up creating puddles, and this can give you a patchy effect because the puddles take much longer to dry. The easiest way to check for puddles is to tilt your paper towards the light – any puddles will be highlighted and you can pick up the excess water with a dry brush.
Read my detailed guide on how much water to use in watercolour for more tips and to watch the video guide!
How to use basic watercolour techniques
Now you know how to use watercolour paint, it’s time to get to know the essential techniques! The two most common are wet-on-wet, and wet-on-dry.
You should also learn about blending and gradients, as well as creative watercolour techniques for something more fun and advanced!
More watercolour painting advice
Download my free watercolour supply guide
Feeling overwhelmed and confused by watercolour paints, papers and brushes? Download my free guide filled with insider info, including a list of good supplies for every budget, and my complete supply list!
