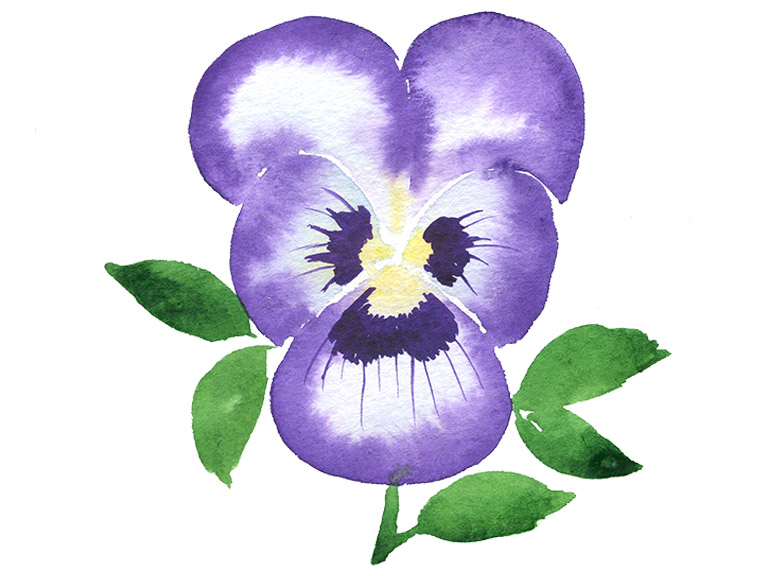
Pansy flowers are one of my favourite blooms in spring! Their little striking flower heads are gorgeous and they’re so easy to paint with watercolour. The wet on wet effect helps create a stunning effect.

What supplies you’ll need
- Watercolour paper
- Watercolour paints in your favourite colours
- Watercolour brushes in different sizes
- Jars of water
- Paper towels or cloth
Paint colours
- Dioxazine Purple
- Lemon Yellow
- Sap Green
You can paint pansies in any colours, but I love purple ones! Use whatever are your favourite watercolour paints from your palette.
Painting a pansy – step by step
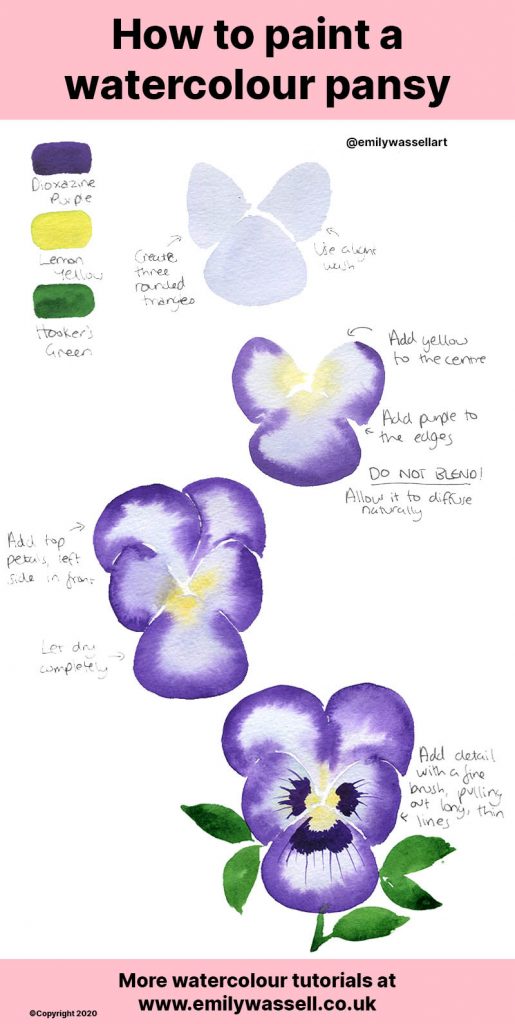
- Start by mixing up the lightest wash possible, with plenty of water and only a hint of purple paint. Lay out the first three petals – they’re triangles with rounded edges. Make sure to leave white space between them.
- Touch a little yellow to the middle of the petals and let it bleed out.
- Then mix up a deep purple coloura and touch it to the edges of the triangles. Allow it to bleed and blend naturally – resist the urge to mix! It works best when you trust the watercolour to move on its own.
- Repeat the process for the petals at the top. The left one fills the centre, and the right one is tucked behind. Add the darker purple along the edges, and a little yellow to the middle.
- Let the first layer dry. Mix up a deep green and add a stem and thin leaves from behind the flower.
- Once the flower is dry, mix up a very dark purple to layer on top. Using a small brush, paint a wiggly section on the bottom three petals, and pull out some long lines over the petals. And you’re done!
More spring floral painting tutorials
More tutorials
Download my free watercolour supply guide
Feeling overwhelmed and confused by watercolour paints, papers and brushes? Download my free guide filled with insider info, including a list of good supplies for every budget, and my complete supply list!
