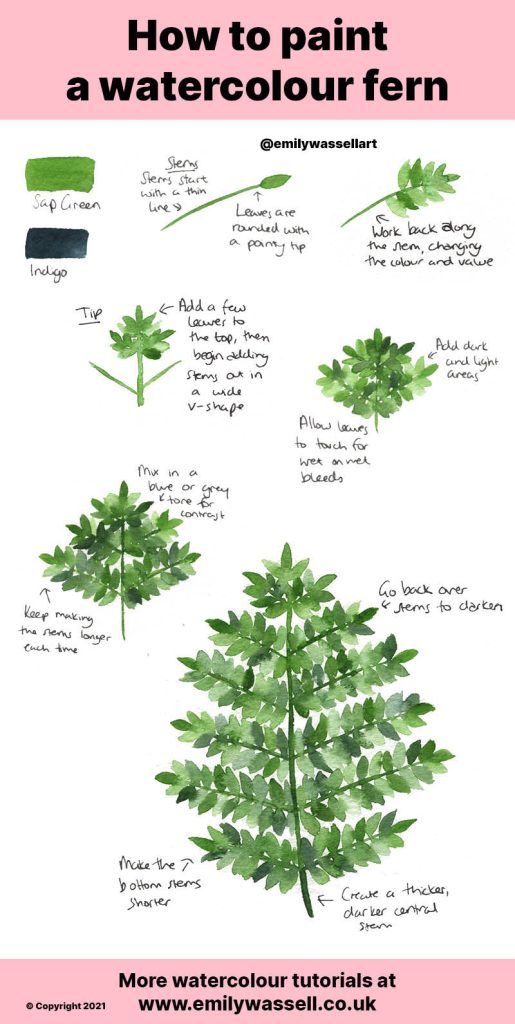
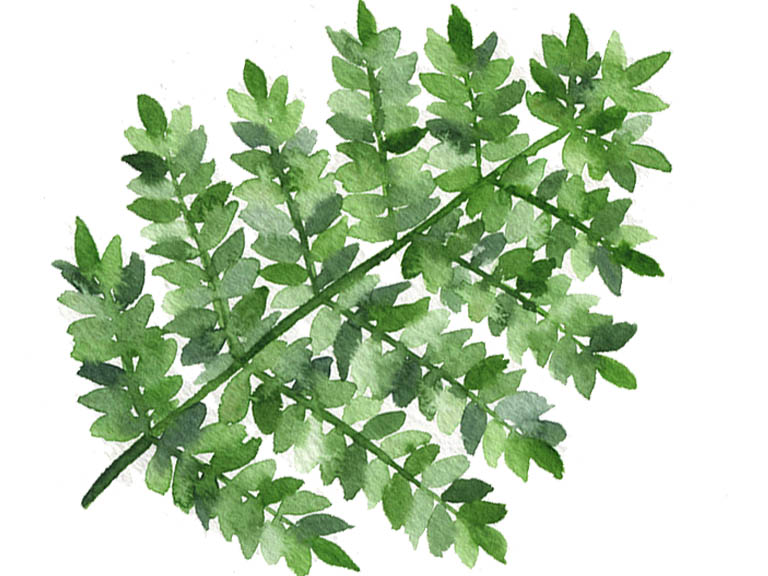
Ferns are beautiful woodland plants, and they’re surprisingly easy to paint! They look so complex but they’re actually really simple, you just have to take the same tactic and build several stems out.

Supplies you will need
- Watercolour paper
- Watercolour paints
- Brushes, preferably small
- Water jars
- Paper towels or cloth
Colours
- Sap Green
- Indigo
You can use any greens you like for this – I’m mixing up a deeper colour with indigo as well.
Painting a fern leaf – step by step
- To paint the stems, create a line for the stem and pull out a very small leaf on the end, in a rounded shape with a pointy tip. It works best with a small watercolour brush.
- Work back along the stem with more leaves, changing up the colours and value (lightness and darkness). Allow the leaves to touch each other and bleed together.
- Create the central tip of the fern in the same way. Create three small leaves right at the tip, and then add two small stems underneath in a V-shape.
- Add dark and light leaves as you go to keep varying the colour and make the painting interesting. If you paint them all in the same colour and tone, they’ll turn into a big green blob.
- Work down, adding more stems that get longer as you go. This is the therapeutic bit! Just keep going, slow and steady, and the fern will soon start to take shape. Make the stems slightly longer as you go to build out a nice outline.
- When your fern is big enough, make the bottom stems a little shorter to bring the shape back in.
- Create a darker central stem, and go over any stems you want to darken. And that’s your fern finished!
Download my free watercolour supply guide
Feeling overwhelmed and confused by watercolour paints, papers and brushes? Download my free guide filled with insider info, including a list of good supplies for every budget, and my complete supply list!
