Ranunculus flowers are some of my favourites! And they’re super common in bouquets, so if you’re learning to paint loose watercolour florals, these blooms are a great place to start.
Ranunculus flowers can seem dense and busy, and quite daunting. But the trick is to break them down to simple shapes and create C curves all around a centre. In this watercolour tutorial, I’ll show you the secret!

Supplies you will need
- Watercolour paper
- Watercolour paints
- Round brush (ideally with a fine point)
- Water jars
- Paper towels
Paint colours
- Sap Green
- Lemon Yellow Deep
- Winsor Red Deep
All the watercolour paints I use are from Winsor and Newton’s Professional range, but you don’t need these exact shades.
Painting watercolour ranunculus flowers – step by step
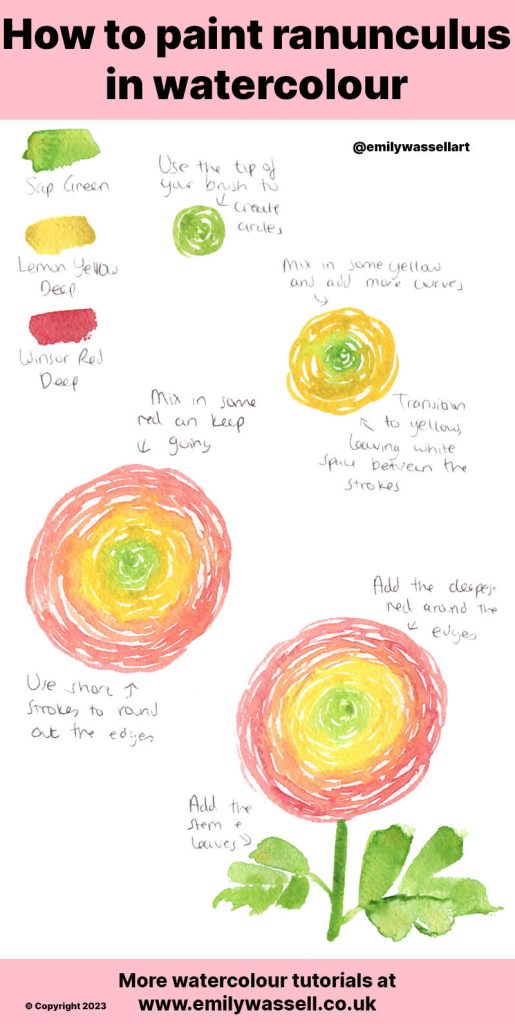
- Load up with your green paint first. Using just the tip of your brush, create small circles, leaving white space between them.
- Add some yellow to your paint mixture. Paint some small C curves next to the green, connecting the lines and allowing them to blend. Keep building out, transitioning to a stronger yellow while still leaving white space between the strokes.
- Mix some red into your mixture as you transition and keep going. Work towards a pure red towards the outside, making the curves longer and a little thicker.
- Add the deepest red around the edges and use short strokes to fill any gaps and create a round shape overall.
- Finally, add the stem and leaves. Build a thick curved stem and then pull out leaves, dragging your brush on its side in sections with some white space between them.
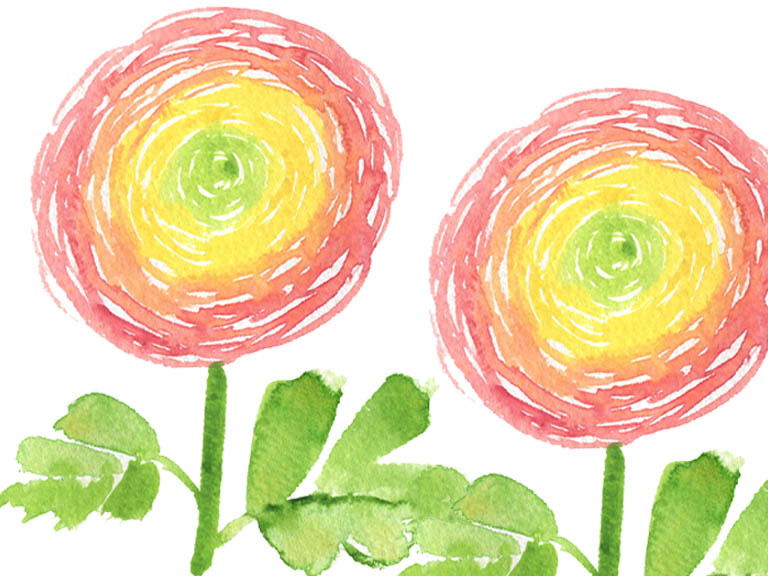
The detail in ranunculus flowers is based on the packed petals, but using simple curves can help you build out the shape. The colour transition is really easy if you work in stages.
More floral tutorials
Download my free watercolour supply guide
Feeling overwhelmed and confused by watercolour paints, papers and brushes? Download my free guide filled with insider info, including a list of good supplies for every budget, and my complete supply list!
