Looking for some ideas for hand-painted Christmas cards? Try this easy watercolour ornament design – perfect for cards, gift tags and even wrapping paper!
I’m using a star-shaped outline for my tree bauble but you can use any shape – a circle, oval, snowflake – anything you can draw around. I love using cookie cutters as the outline for this painting!

What supplies you will need
- Watercolour paper sheets or cards
- Watercolour paints
- Watercolour brush
- Water jars
- Paper towels or cloth to dry your brushes
- Pencil and eraser
- Something to draw around – cookie cutters, small ornaments, anything round!
Paint colours
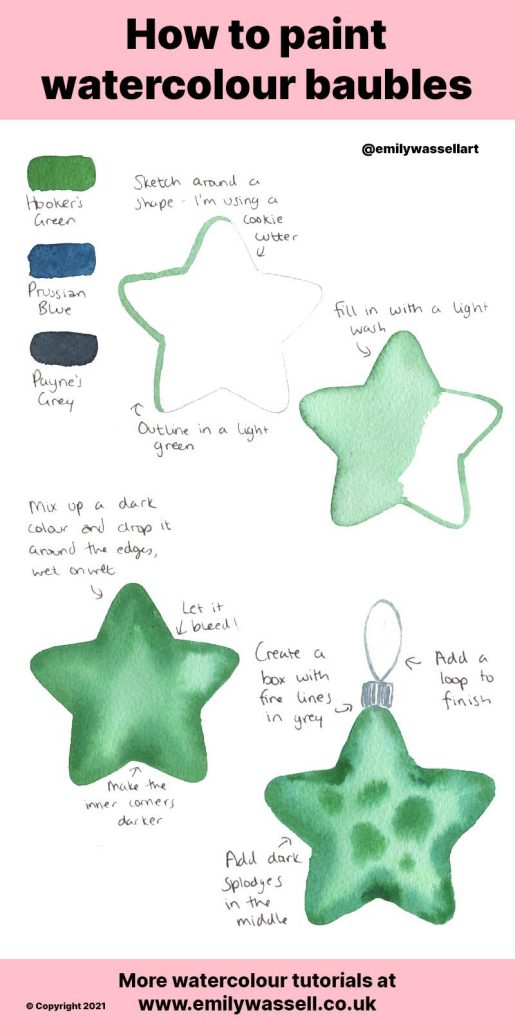
Choose any colours you like – Christmas ornament decorations can be in any festive colours! I’m using a forest green:
- Sap Green
- Hooker’s Green
- Payne’s Grey
You can also get decorative with this tutorial – bring out the glitter and shimmer metallic watercolours, add details over the top in gel pen or gouache, or experiment with Posca pens. Read my guide on using whites in watercolour for more layering ideas.
Painting a Christmas tree decoration – step by step
- Start by sketching your shape in pencil. I’m drawing around a star-shaped cookie cutter but you can use anything. Even a roll of Sellotape can help you create a round bauble! Keep the pencil lines light and run over them with an eraser if they’re too dark – remember that watercolour is transparent so it will show sketches underneath your paint.
- Mix up a light green colour with plenty of water and trace over the pencil lines with your watercolour brush to outline the shape.
- Before it has time to dry, fill in the whole star shape with a light wash.
- Working quickly wet on wet, grab some richer, darker colours and run your brush around the edge again, allowing the paint to bleed and blend out. Don’t worry about blending together, it looks best when you don’t fiddle too much in the shape!
- Focus extra darkness on the inside corners of your star shape, or the bottom edge for round ones.
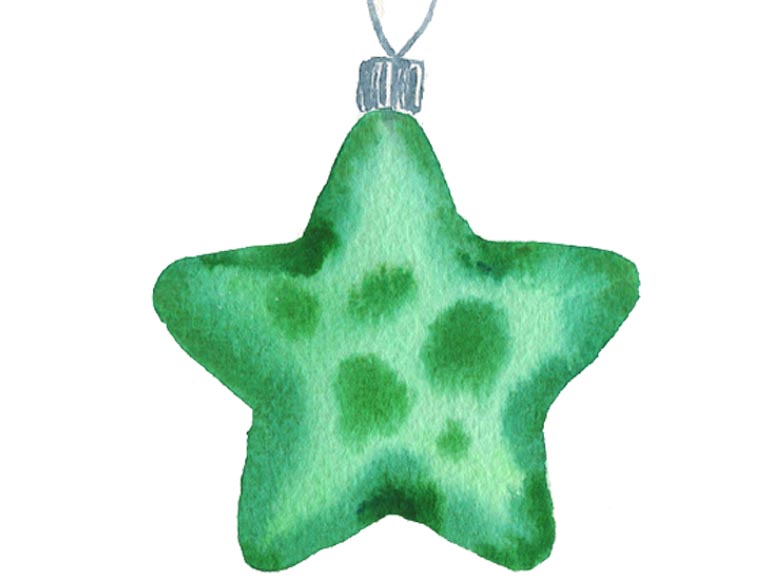
- Drop some darker paint into the centre section in random places, allowing it to bleed out to create interesting textures. Here you can use shimmer paints or other colours if you like!
- Switch to a smaller brush and mix up a light grey tone. Above your shape, paint a small box and fill in with fine lines, leaving white space between them. Add a hanging loop above and your Christmas ornament is done!
If you want to make this design into Christmas cards, simply fold a piece of watercolour paper in two and paint on the front. To make tags, paint a few small ones on a sheet of paper and cut around them to create individual tags. Leave a little extra paper at the top to punch a hole for your ribbon or string and attach to your presents.
Want to paint a Christmas botanical wreath?
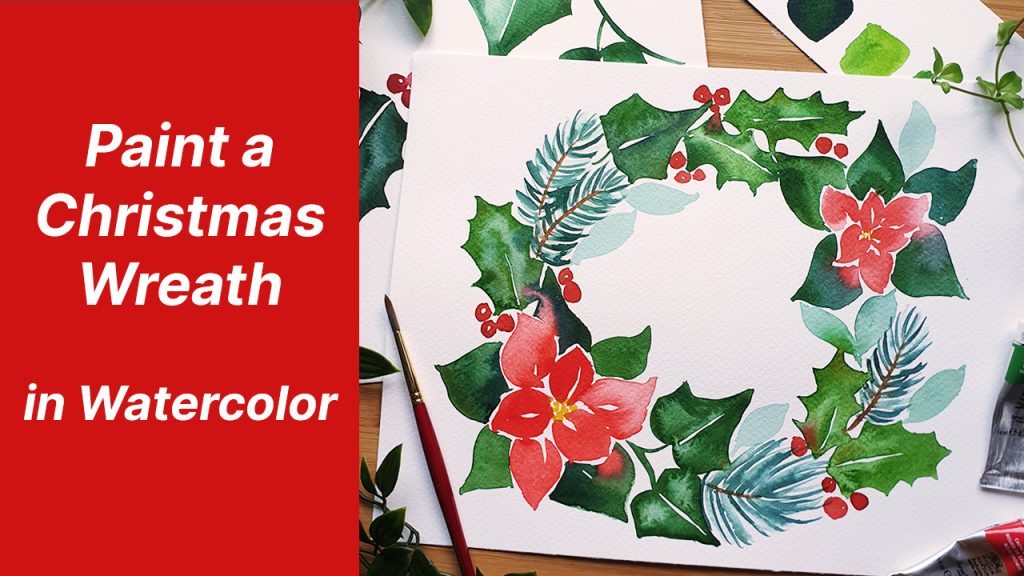
Paint more Christmas watercolours with me in my Skillshare class! This easy festive watercolour class focuses on Christmas botanicals including holly, ivy, poinsettia and more, and puts them all together in a lush, vibrant wreath. Take the class for free here!

