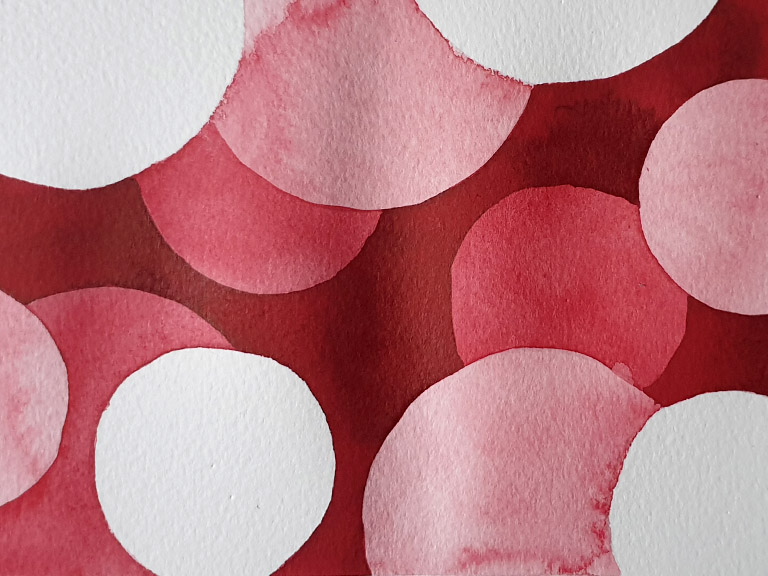
Negative painting is a beautiful technique in watercolour, and it’s not used nearly enough! It can be a little fiddly depending on your subject and how much detail you put in, but it’s a great way to get depth into your paintings.
What is negative painting?
Negative painting in watercolour is where you paint around the subject to highlight it by darkening the background. It creates a sense of depth and space, visually ‘pushing’ the lighter areas ‘forward’ in the scene.
Negative painting often uses the white of the paper to create the highlights and builds darker values by painting around them. The more layers you use, the deeper and darker your backgrounds will appear.
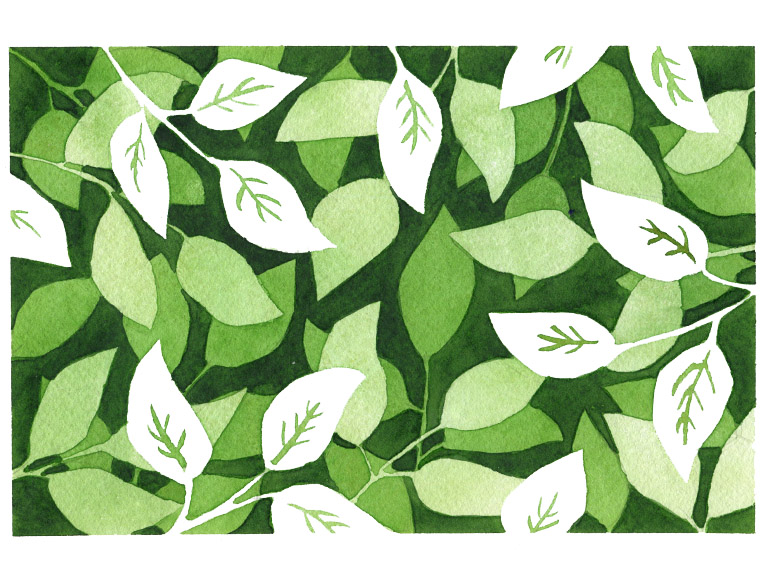
What can I use negative watercolour painting for?
Negative painting works well with subjects that have a lot of contrast and a deep, distant background. Here are just some ideas:
- Landscapes with rolling hills and mountains
- Busy jungle scenes with plants and animals that overlap
- Fields of wildflowers
- Overlapping leaves like a tangled vine
- Underwater scenes such as coral reefs
- Portraits where you want to highlight the person by darkening the background
- Abstract patterns with a sense of depth
How do you create a negative painting effect in watercolour?
The easiest method for negative painting in watercolour is to sketch your shapes and paint around them. Add a second layer of shapes, paint around both of them, and you’ve got a negative painting!
Imagine that you’re working backwards through your scene and paint the space around the parts that are closest to the viewer.
Step by step negative painting tutorial
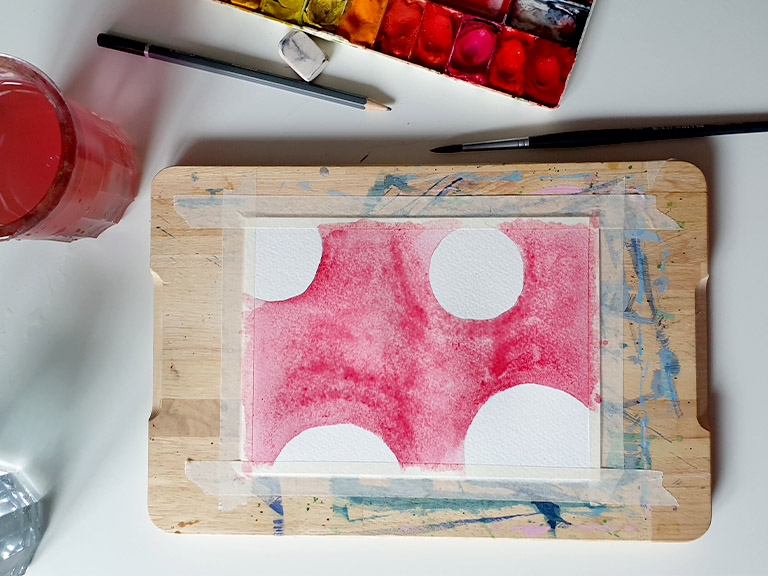
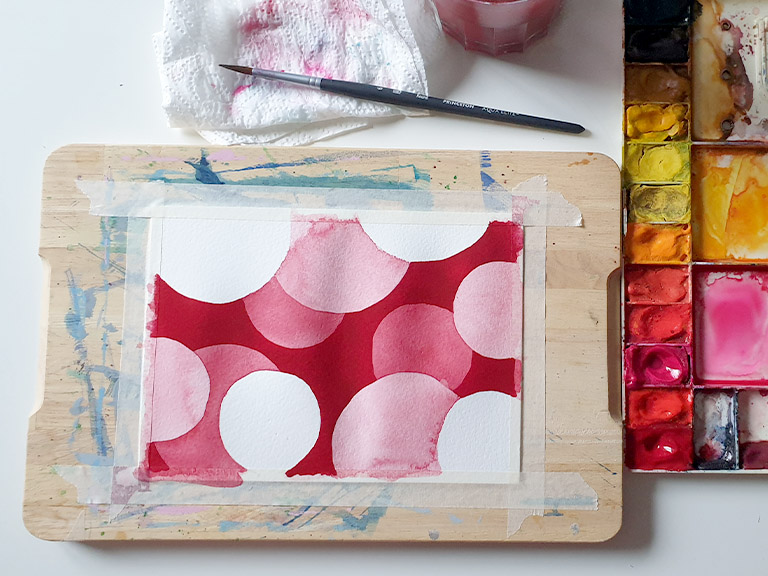
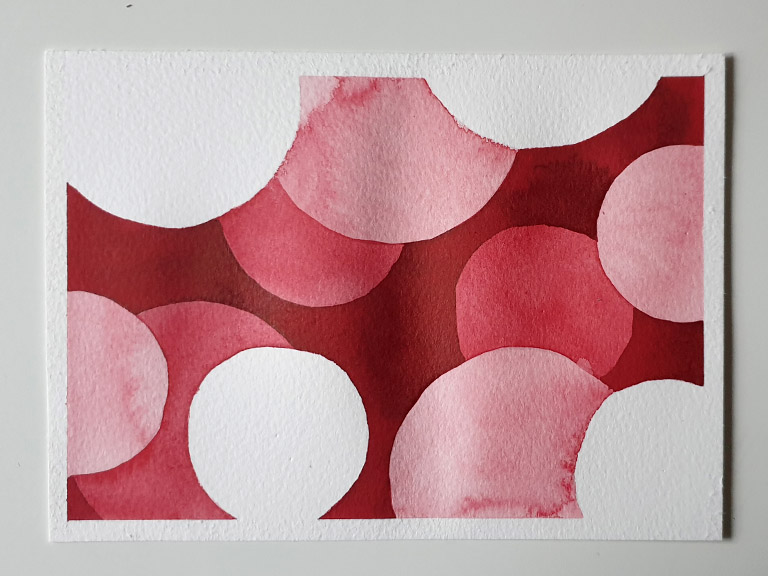
Here I’ll demonstrate how to achieve a negative painting effect with a tutorial of an abstract pattern showing overlapping circles.
- Preparation is key
First, lay out the top circles – these will be the lightest and the closest to the viewer. I drew around some different sized lids.
- First wash
Put down a light watercolour wash around your subject, leaving them white. You need to be neat around the edges. Allow to dry completely!
- Sketch the next layer
Now add the sketch for your next layer, being careful to hide behind your first shapes.
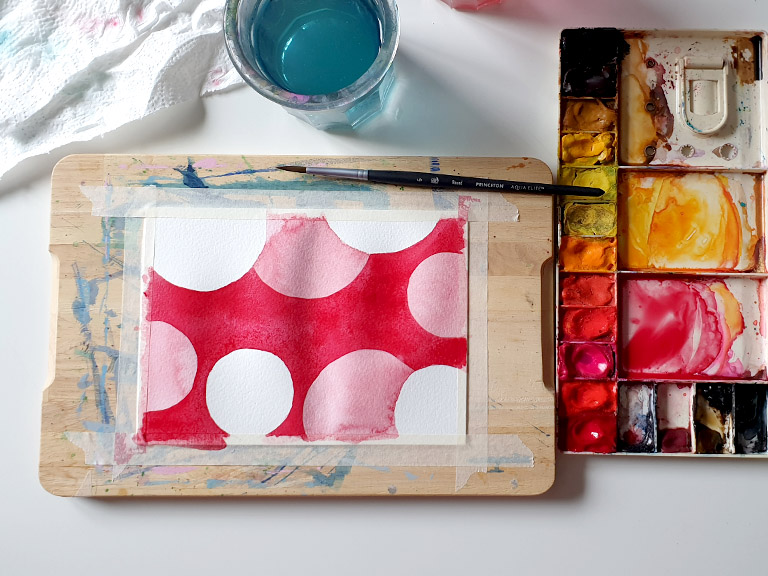
4. Add the second wash
Now paint around both sets of shapes, just filling the negative space around them. You can use the same value of wash or go slightly darker, depending on whether you want a very high contrast. Allow to dry fully.
5. Keep adding layers
Keep going in the same way, allowing the work to dry before the next layer. The finished piece should have a good level of depth and contrast.
Top tips for the best effects
Let it dry properly
Negative painting will take a few layers – it’s vital that you let them dry fully or the layers will smudge. It needs patience but the results are worth it!
Contrast needs to be high
Negative painting should have a strong contrast, with the lightest sections at the front of your painting. Keep the first layers of paint lighter and work towards a darker value as you get towards the background.
Sketch in pencil
It’s really important to start with a pencil sketch, otherwise it’s easy to lose your place in negative paintings and end up covering up something you shouldn’t! But use a light touch or the lines will be visible through the paint layers. You can always sketch then slightly lighten the marks using a rubber eraser.
Focus on neat edges
The layers come from the contrast between your shapes and the darker background, so be as neat as possible around your shapes to give a crisp finish.
Tape your paper down
This watercolour technique uses a lot of water, which can cause the paper to buckle. Tape it down onto a flat surface to keep it still and help the paint dry evenly.
Negative painting in watercolour can seem complicated, but if you work methodically you should be able to create work with stunning depth and contrast. Start simple and aim for more complex designs as you build confidence.
Download my free watercolour supply guide
Feeling overwhelmed and confused by watercolour paints, papers and brushes? Download my free guide filled with insider info, including a list of good supplies for every budget, and my complete supply list!
